
Chemical anchor – how to use it? Step-by-step installation in concrete and masonry
Chemical anchor – how to use it and install it correctly
The chemical anchor is used for fixing into hollow core floor slabs, natural stone, concrete, blocks, brick, masonry and lightweight concrete. The joint is durable and has a very high load-bearing capacity.
Important information before installation
All ESSVE chemical anchors are two-component compounds – they consist of a base component and a hardener. Only when they are mixed in a special mixer is a compound with the properties of a chemical anchor created. Always follow the step-by-step instructions on the packaging. Below you will find a general installation guide.
Before application
- Dispense a test strip of compound until it has a uniform light grey colour.
- Before filling, clean the hole thoroughly of dust and drilling debris. Contaminants impair the curing of the compound, the load-bearing capacity and the safety of the fixing.
- Use compressed air for deep holes.
- In hollow materials, use a perforated sleeve. Fill the sleeve completely with compound, then insert the rod and turn it. After curing, remove the excess hardened compound.
Video by the manufacturer ESSVE, without English subtitles.

Step 1: Drilling
Drill a hole in the substrate. The hole diameter should be 2 mm larger than the element being anchored (for M16 and smaller). Always check the manufacturer's recommendations on the chemical anchor packaging.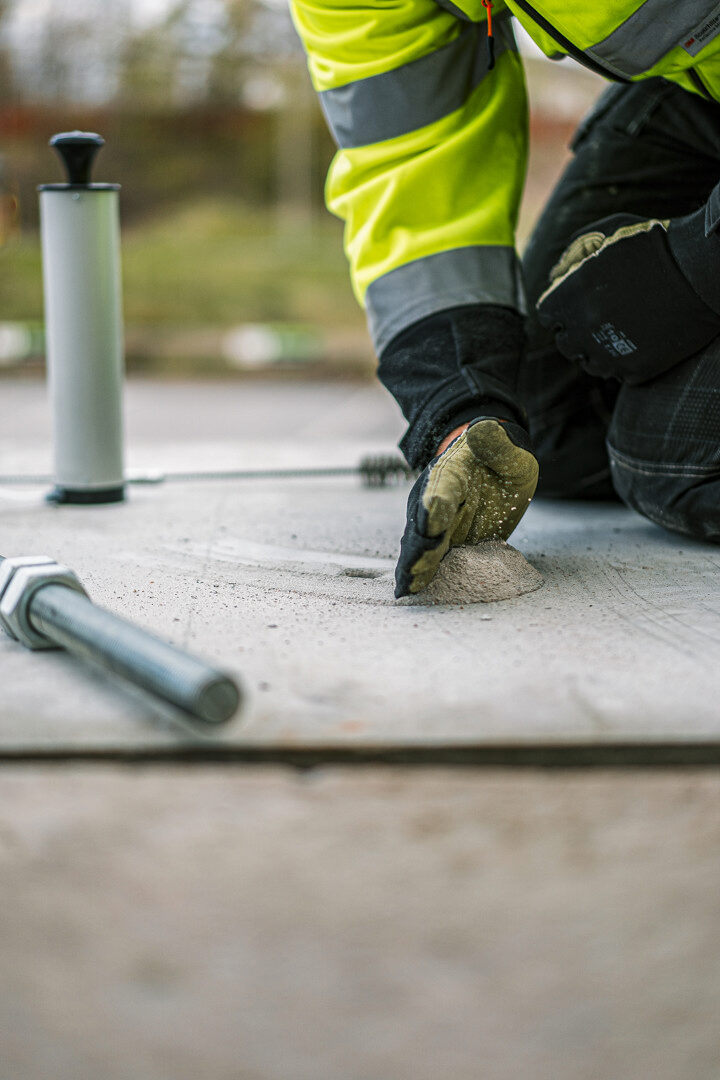
Step 2: Removing dust from the surface
Remove the dust from the surface around the hole so that it does not get back inside after cleaning.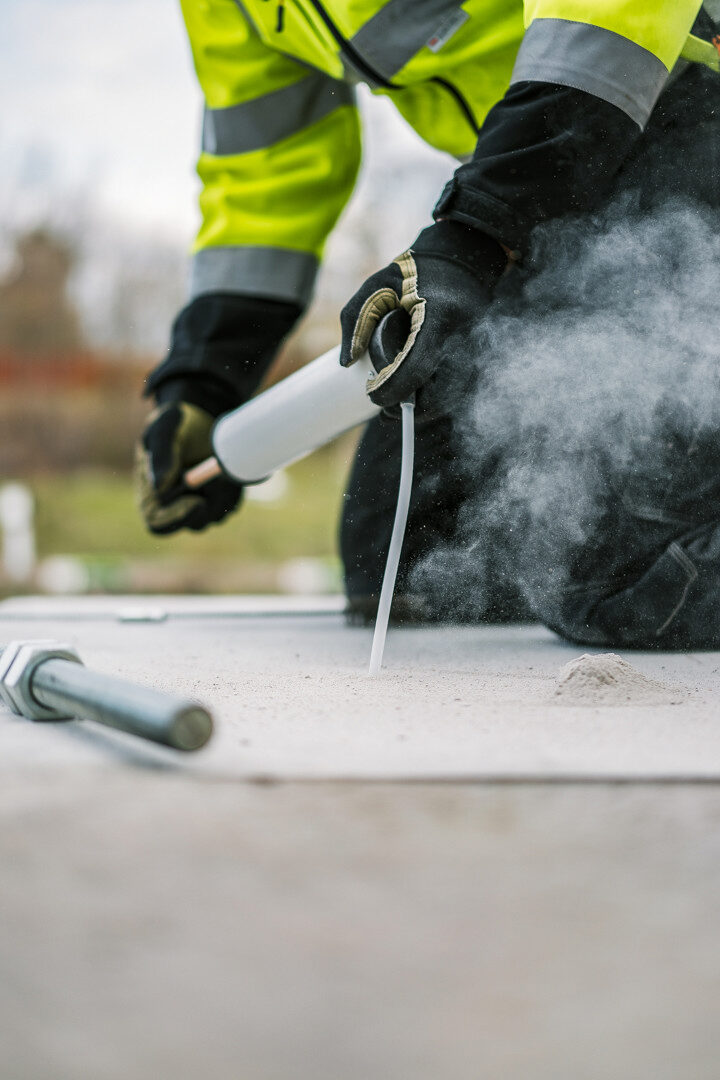
Step 3: Blowing out the hole
The performance of a chemical anchor depends on its adhesion to the walls of the hole, so no dust may remain in it.
- In cracked concrete, use compressed air (min. 6 bar).
- In non-cracked concrete, you can use a manual blow-out pump – do at least 4 cycles. Do not use a vacuum cleaner.
Step 4: Brushing the hole
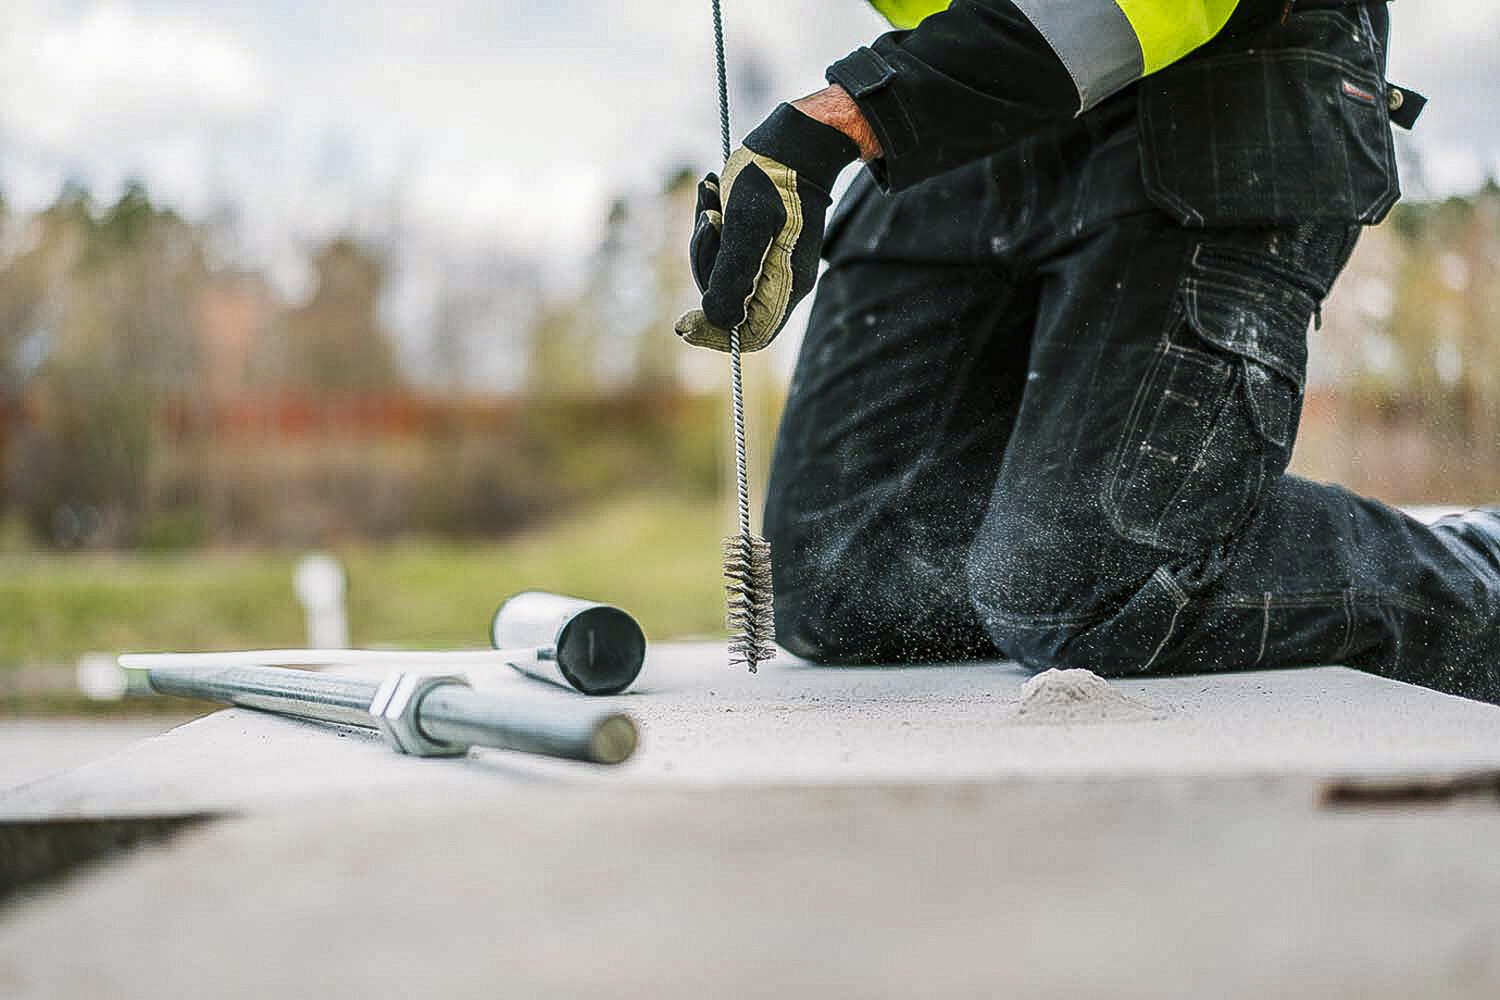
Push the brush all the way to the bottom of the hole and pull it out in a straight movement. Do at least 4 strokes. The brush should have a diameter 2 mm larger than the hole (M16 and smaller).Step 5: Blowing out again
Repeat the cleaning until no more dust comes out of the hole.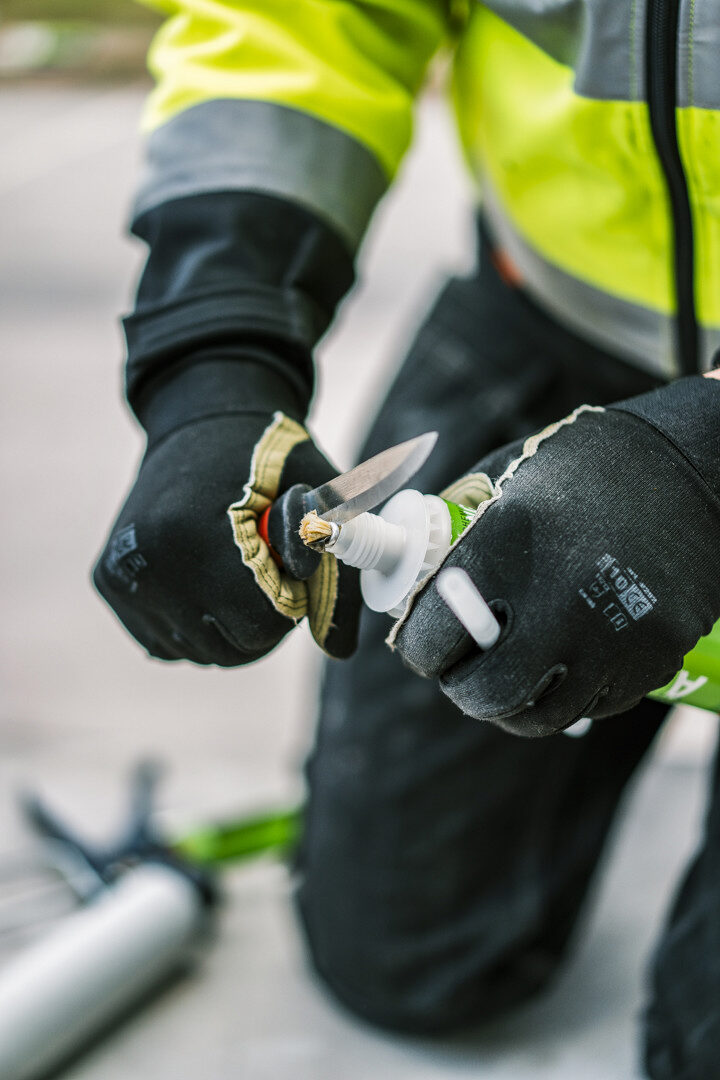
Step 6: Preparing the chemical anchor
Open the cartridge, insert it into the gun and fit the mixer.
Step 7: Mixing test
Dispense about 15 cm of compound onto paper until it has a uniform light grey colour.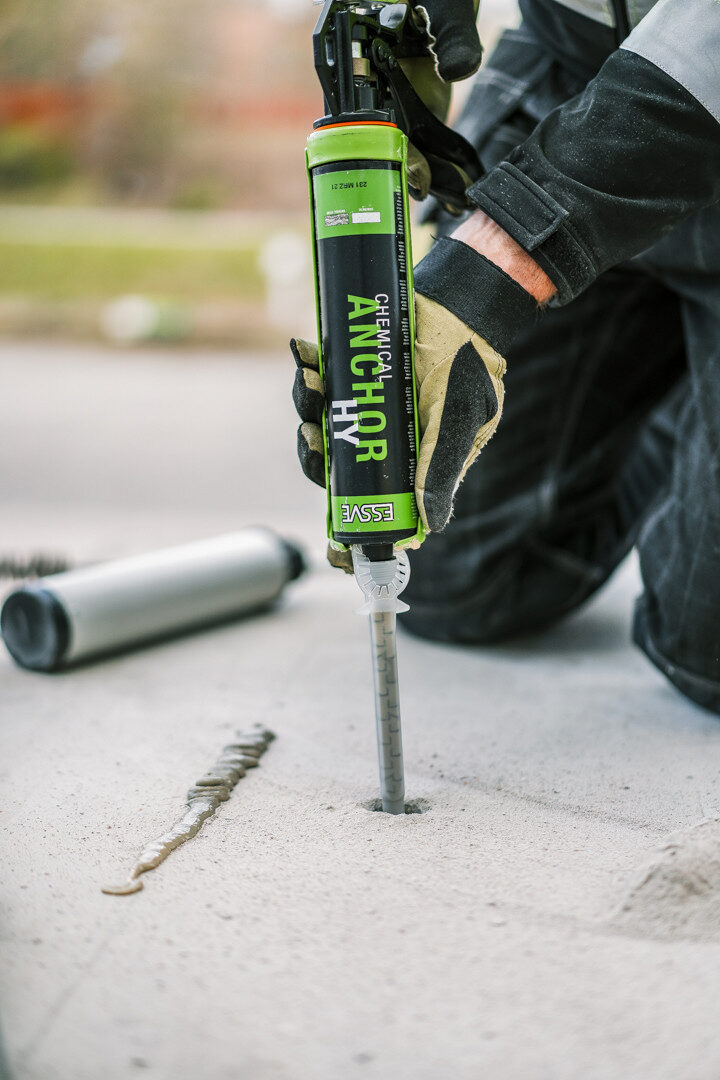
Step 8: Applying the compound
Fill the hole from the bottom upwards. Fill at least 2/3 of the hole volume. If necessary, use a mixer extension.
Tip
The compound must cure fully before you load the threaded rod. The curing time depends on the temperature of the substrate. Always check that the chemical anchor in question is suitable for the specific application.
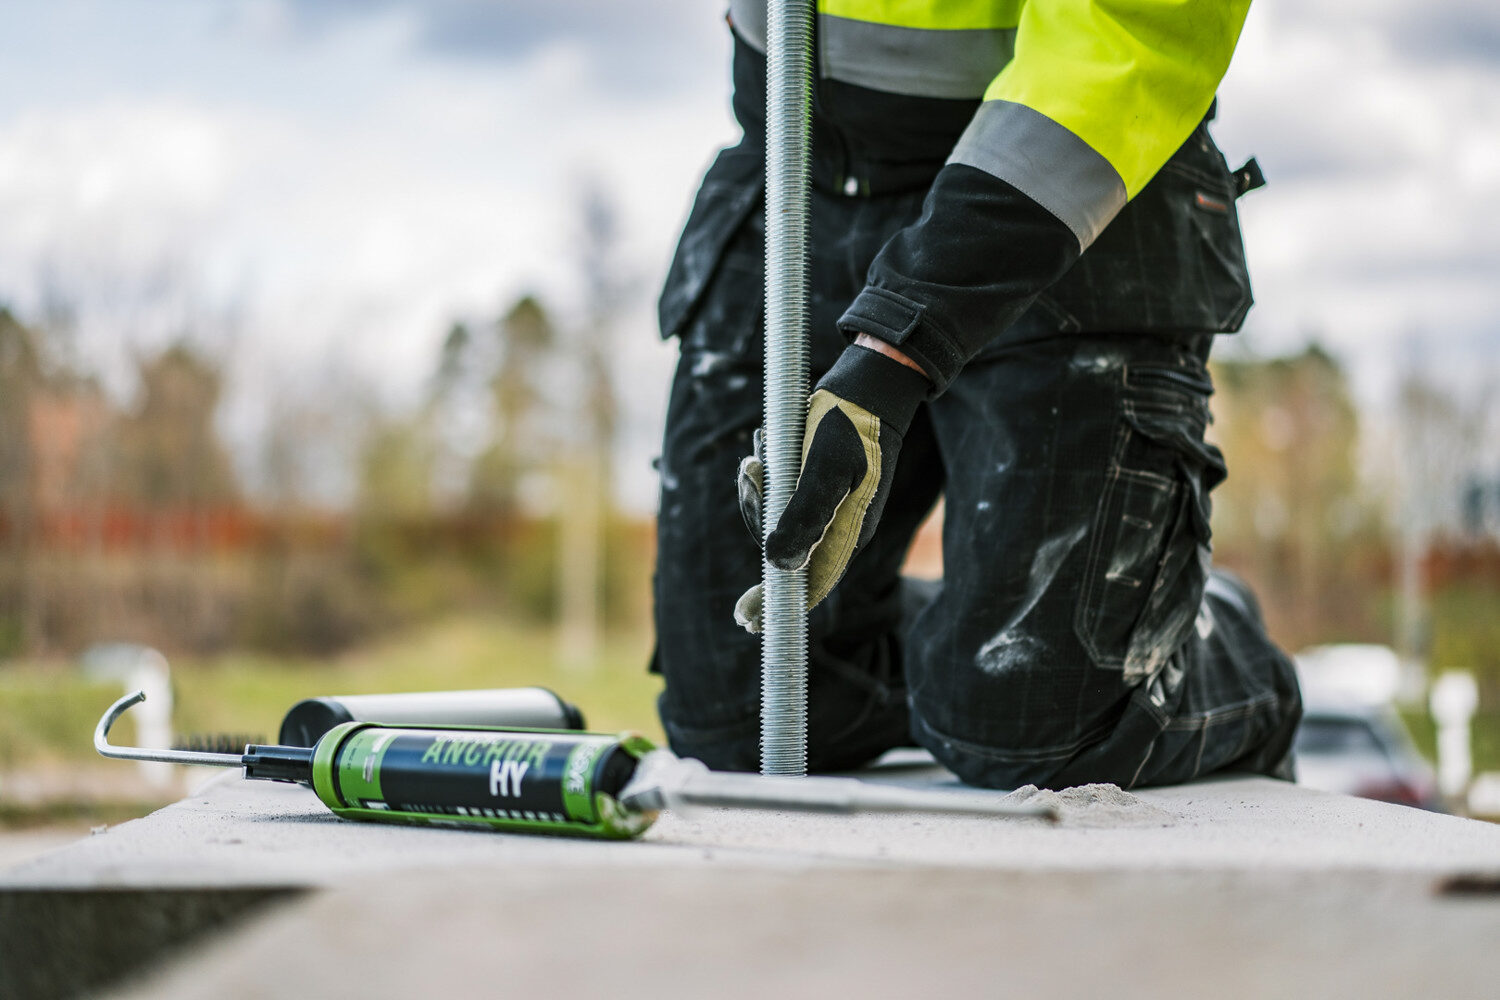
Step 9: Inserting the element
Insert the element being anchored with a twisting movement so that the compound thoroughly covers the entire surface of the rod.
For diameters above M16, in cracked concrete and when installing in damp conditions, follow the ETA instructions.
Chemical anchors for every application
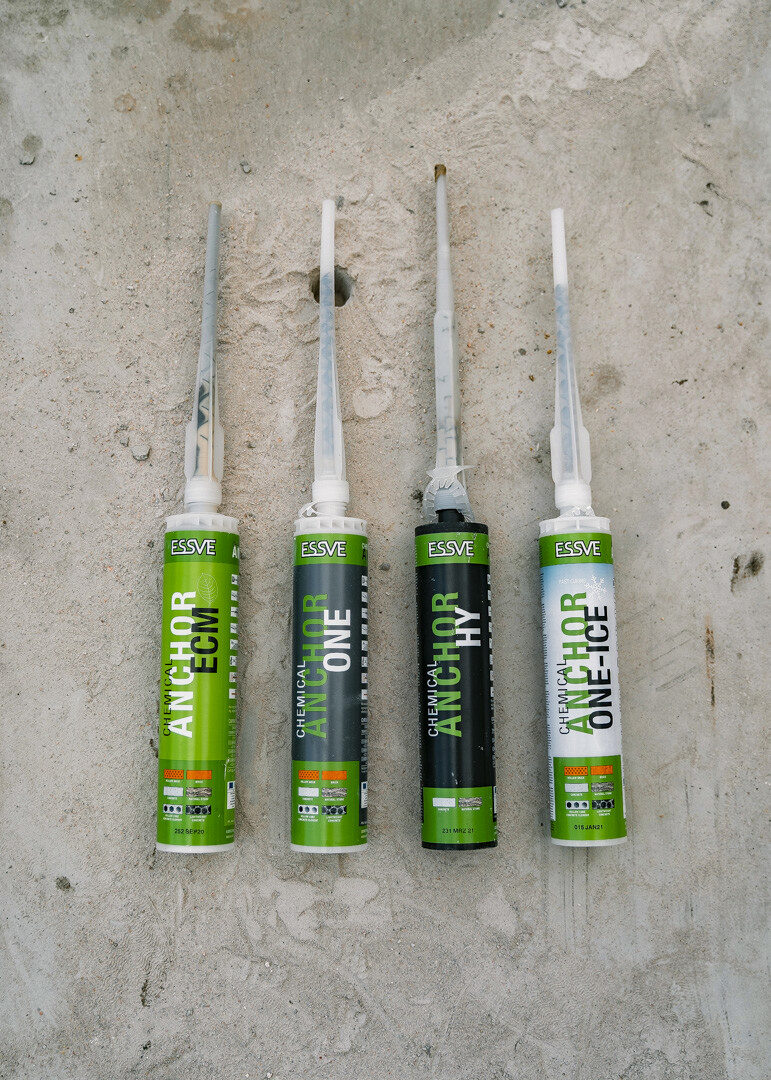
ONE is a universal product, ONE-ICE is designed for installation at low temperatures, ECM for porous materials and HY for fixing under extreme loads.


What you will need for installation
Have all the products listed below ready so that the installation is carried out correctly.


The information in this guide is for guidance only. Follow the manufacturer's technical data sheet and the applicable standards; if in doubt, contact us.