
The faltak roof – a traditional Swedish wooden roof in a modern form
Building a roof: the traditional faltak in a new guise
How do you build a board-on-board timber roof (faltak) in the traditional way and at the same time to current requirements? Carpenter Daniel describes a roof on the island of Fårö where the classic technique was complemented by modern materials and installation methods.
Reviving an old way of building – important and beautiful
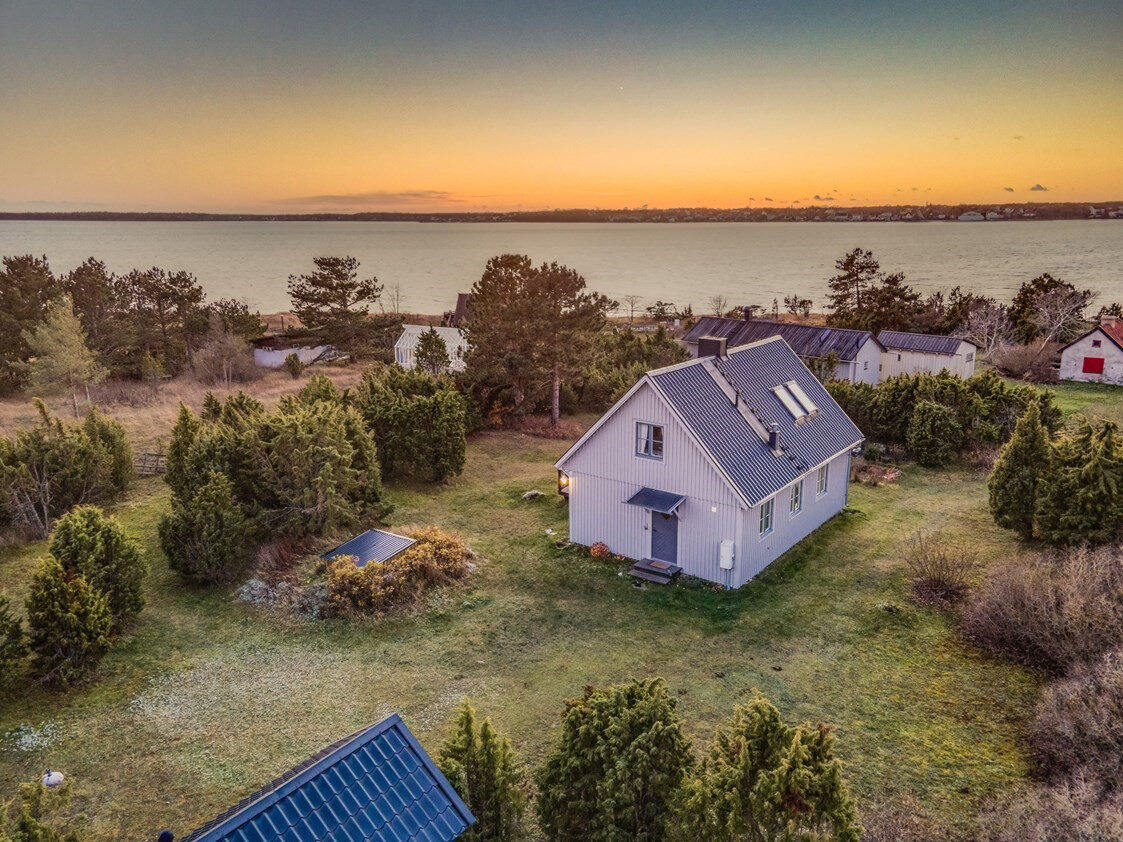
Klas Holm, a designer with an interest in craftsmanship and the preservation of traditional building, wanted to give a property he had bought on the island of Fårö back its original character. The problem was a black sheet-metal roof imitating roof tiles, which spoiled the look of the building.
Faltak roofs have long been used on buildings on Gotland, so it was natural to try this technique. The aim was to find a way to modernise the traditional faltak with improved products without losing its character.


What is a faltak roof (a roof made of boards)?
Faltak is a wooden roof covering made of boards laid in two layers in the direction of the roof slope. In Sweden this solution was commonly used on many types of buildings. With the right choice of wood, correct workmanship and maintenance, a board roof can last more than 100 years.
Construction and how it works
- The boards can have two or three planed grooves that drain water away.
- Thanks to the way they are laid, the boards fit tightly against each other even when the wood naturally moves.
- One advantage is that only the damaged boards can be replaced without removing the whole roof covering.


How to modernise the traditional faltak: 3 key areas
On the building described here, the modernisation concerned three elements: the material, the laying method and the fixing method.
1) Choosing the material for a board roof
Traditionally, Gotland heartwood was used, regularly coated with tar, which improved both protection against rot and watertightness, but the roof was very dark. On farm buildings you will also come across untreated roofs that develop a silvery-grey patina over time.
For the house on Fårö, pressure-treated timber with rot protection was chosen, which needs no further treatment. The intention was a natural wood look that turns grey over time.
2) How the boards are laid (heart side and grooves)
Traditionally, the boards are installed heart side up, and the bottom boards should have their grooves on the upper side so that they catch and drain away water. Most often the top boards are also laid grooves up, which gives the roof surface a distinctly “striped” look.
On this building the grooves of the top boards were turned downwards for a cleaner look.
3) Fixing: nails or screws
Traditionally, faltak was fixed with nails – the nail head limits water penetration at the fixing point. However, the roof covering moves, so the nails can work their way out over time and twisting boards can impair watertightness.
On this roof, ESSVE facade screws with a countersunk head and a grey finish were used. Stainless steel screws are flexible and adapt to the movement of the wood, and the milling tip reduces the risk of splitting. The head has a sealing edge that closes the hole. Over time the grey screw head blends in nicely with the weathered grey boards.
Practical tips: building a faltak roof
The following recommendations are based on practical experience with a faltak roof:
Batten spacing
Although it is not necessary to lay the battens at a spacing smaller than 100 cm, consider doing so on steep roofs for comfort and safety during installation.
Symmetrical board layout
Plan the spacing and layout of the boards so that symmetry is maintained even at roof penetrations and flashings. The edges on both sides of the roof should look the same.
Fewer cracks
Do not screw the top boards through the bottom boards – this significantly reduces the risk of cracking.
Protection against moisture and dirt
If possible, limit shading of the roof by tall trees. Otherwise, remove leaves and needles regularly, because accumulated debris increases moisture and encourages the growth of algae and moss.
Minimum roof pitch
The recommended minimum pitch is 22° so that water runs off the roof well.

The information in this guide is for guidance only. Follow the manufacturer's technical data sheet and the applicable standards; if in doubt, contact us.