
Fixing to concrete: an overview of installation methods
Fixing to concrete: an overview of installation methods
Concrete is one of the most widely used construction materials, but it requires the right approach during installation. When fixing to concrete, you need to choose suitable fasteners according to the type of load and the application – plugs for concrete, concrete screws, mechanical or chemical anchors. In this guide we go through the most common methods of installation in concrete and explain when and why they are worth using.
Contents
- Fixing to concrete with expansion plugs
- Nails in concrete – when you can use them
- Concrete screws – fast and durable fixing without plugs
- Mechanical concrete anchors – expansion anchors
- Chemical anchor for concrete – maximum load-bearing capacity and safety
- How to choose the right method of fixing to concrete?
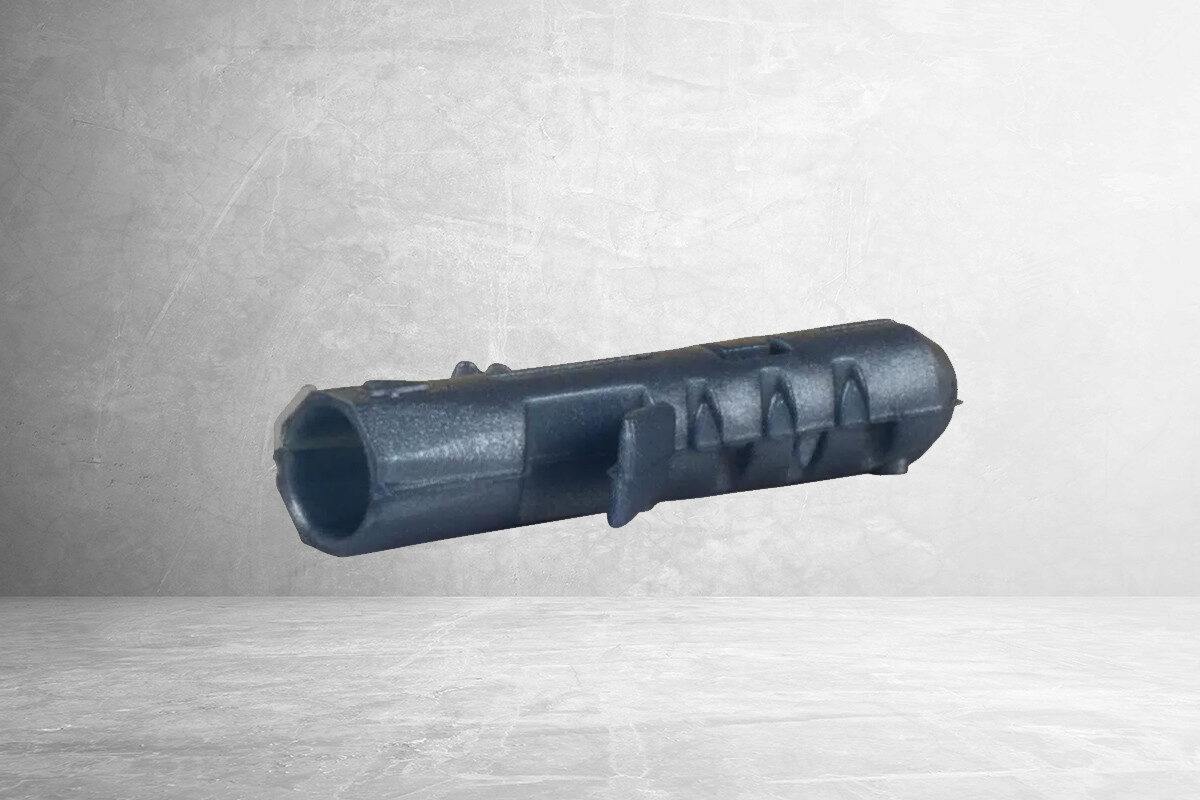
Fixing to concrete with expansion plugs
Plugs for concrete are among the most common solutions for light and medium-duty fixing to concrete, especially for items such as shelves, pictures or wall brackets. It is important to choose a plug designed for concrete, for example the expansion plug N.
- Drill a hole. Use a hammer drill bit and check that the diameter of the drill bit matches the diameter of the plug. For example, if the plug has a diameter of 6 mm, use a 6 mm drill bit.
Tip: The hole should be about 10 mm deeper than the length of the plug. If the plug is 40 mm long, drill a hole 50 mm deep (40 mm + 10 mm extra). - Insert the plug. Push the plug into the drilled hole until it sits fully flush with the wall.
- Screw the item in place. Choose a screw that passes through the entire plug and protrudes beyond it by about 5 mm. If the plug is 40 mm long and the item being fixed is 10 mm thick, the screw should be 55 mm long (40 mm + 10 mm + 5 mm).


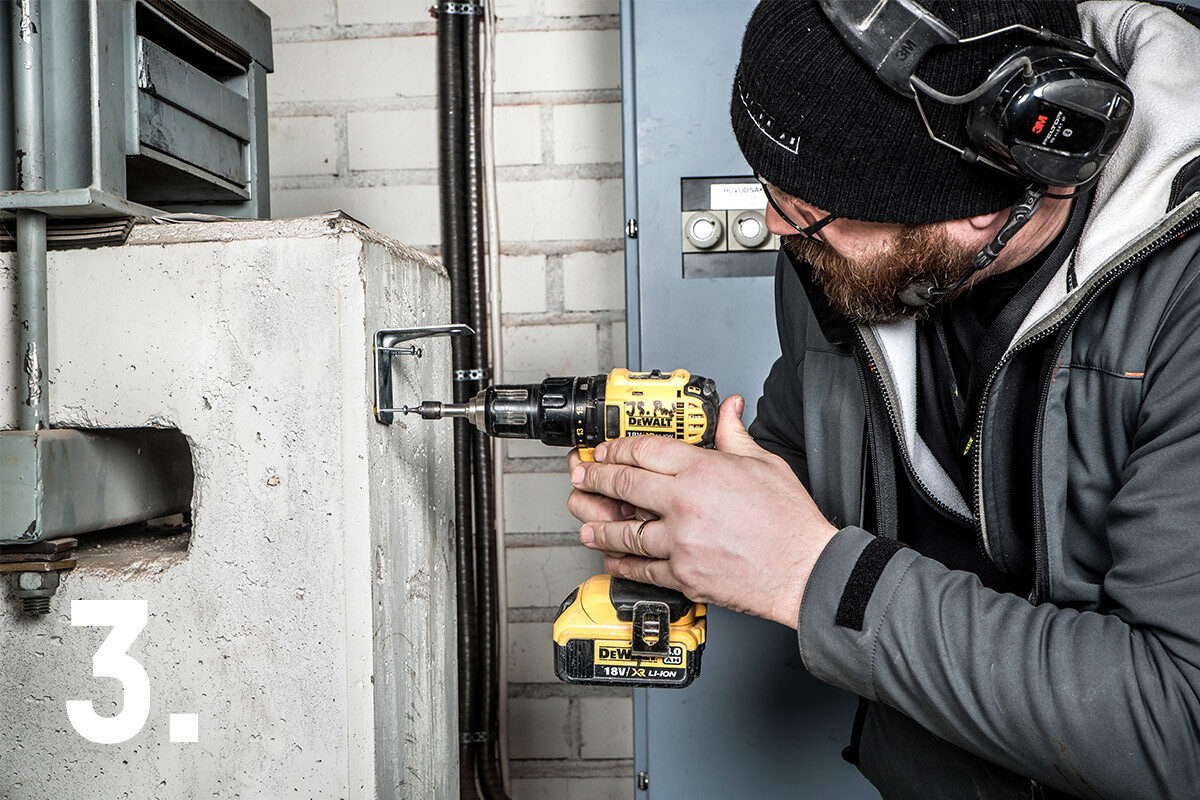
Nails in concrete – when you can use them
You can hang a light picture on a concrete wall yourself using a picture nail. For more demanding installations in concrete, however, we do not recommend nails.
To drive nails into concrete you usually need special nail guns designed for this purpose. In our range you will find, for example, a gas nail gun for pins, which you can use to fix skirting boards and plinths to concrete walls, for example. For a durable installation that does not crack, we recommend combining the nails with adhesive.
Important! Never fire directly into concrete or metal without placing a piece of wood in front of the muzzle (nose) of the nail gun!

Concrete screws – fast and durable fixing without plugs

Concrete screws for skirting boards and plinths
If you are going to install skirting boards or plinths on a concrete wall, we have special screws for the job. The ECS-CY concrete screw is available with bright zinc plating, with yellow chromate and with a white lacquered head, so the installation is neat and discreet.
- Drill a hole. Use a 4 mm hammer drill bit to drill a hole through the skirting board and into the concrete.
- Clean the hole. If you drill a sufficiently deep hole, a few back-and-forth movements of the drill bit are enough to clean it.
- Drive in the screw. Use an ordinary cordless screwdriver with a TX bit to drive the screw straight into the concrete (no expansion plug needed!).
Caution! Oak is too hard for the screw head to sink flush with the surface. If you want to fix an oak skirting board, you must countersink the hole with a countersink bit during installation.
Concrete screws for heavy elements
Concrete screws allow fast and safe fixing of heavy elements to concrete without expansion plugs, which makes installation considerably simpler and faster. You will need a hammer drill bit, a screw designed specifically for concrete and a powerful cordless screwdriver or impact driver – depending on the size of the screw.When to use them? For heavier installations, for example fixing an awning to a concrete facade or other concrete structures, we recommend the EUS2-HF concrete screw. It is excellent for fixing various elements to concrete, such as joists or timber battens.
- Drill a hole. Use a hammer drill and choose a drill bit with the right diameter. The diameter to use is given in the name of the screw. Example: a concrete screw marked EUS-HF 10.5 (8) has an outer thread diameter of 10.5 mm and requires a drill bit with a diameter of 8 mm (the value in brackets).
- Clean the hole. Blow out the hole with a blow-out pump to remove the dust. The screw then holds well and does not hit the bottom prematurely. If a lot of dust builds up, it can be hard to remove with the drill bit. Instead of cleaning, you can drill the hole a few centimetres deeper so that the screw does not hit a bottom covered with dust.
- Drive in the screw. Drive the concrete screw in with a powerful cordless screwdriver or impact driver. Once the screw head sits against the material being fixed, you are done. Important: do not overtighten the screw. You will find the recommended tightening torque on the packaging – this prevents the thread from stripping!
Follow these simple steps and you will get a stable and durable installation directly in concrete!
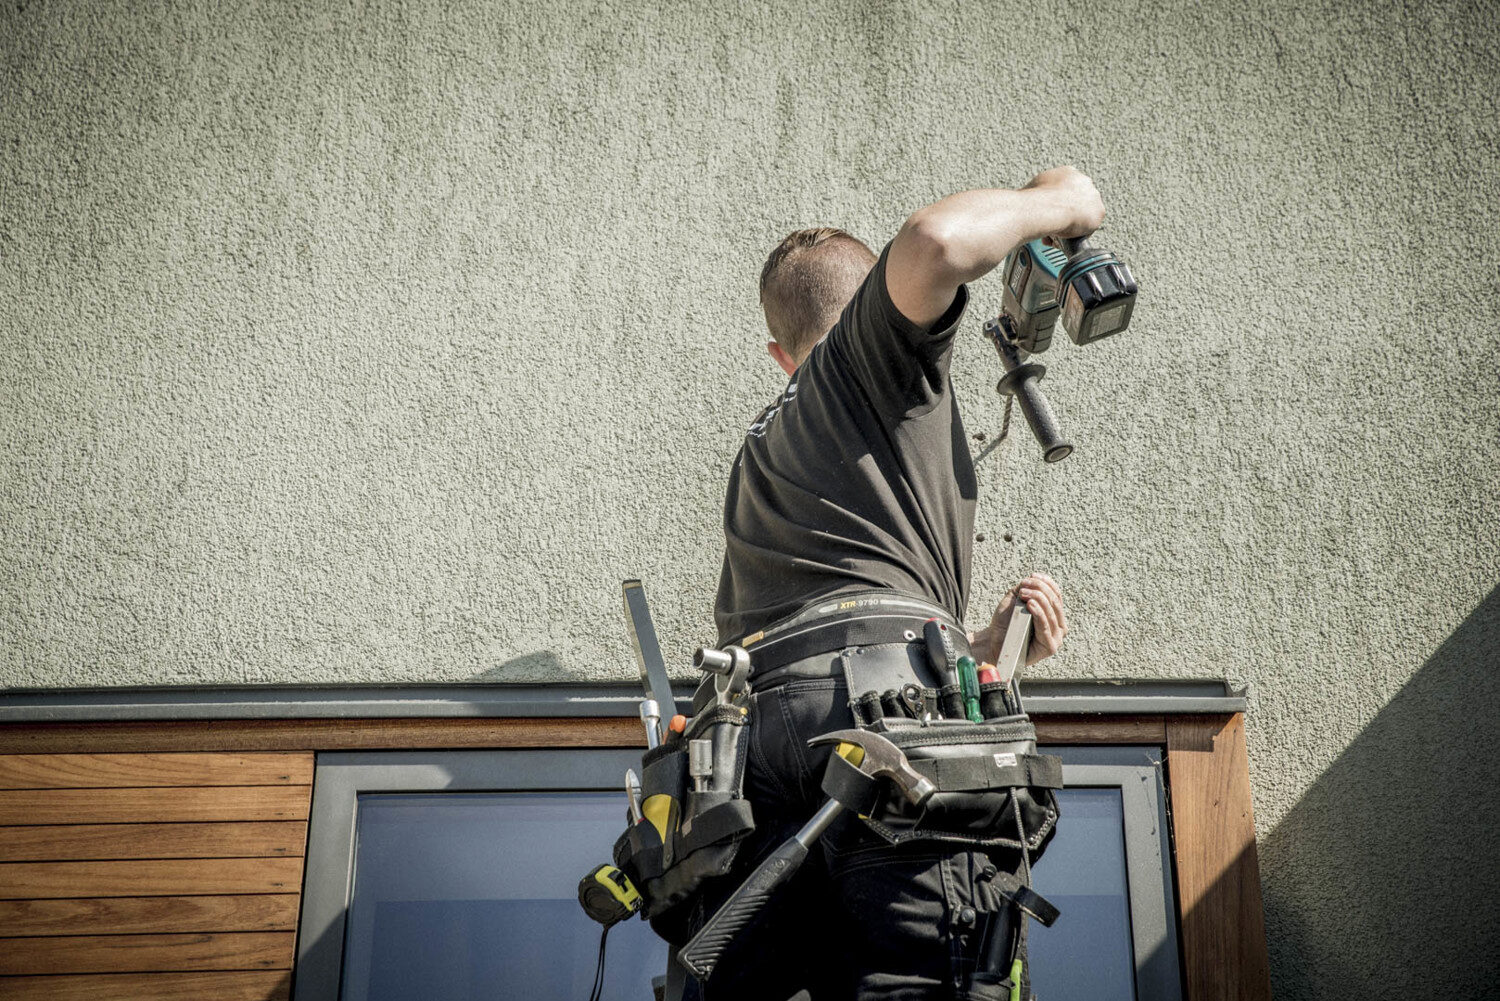
Video by the manufacturer ESSVE, without English subtitles.
Mechanical concrete anchors – expansion anchors
Expansion anchors can be used in the same situations as concrete screws. However, we recommend them mainly for fixing steel elements to concrete, for example when installing steel posts, fittings or wrought-iron elements. If you use an expansion anchor to fix timber to concrete, there is a risk that the anchor nut will cut into the timber, which is not ideal. A large square washer can partly prevent this, but for timber a concrete screw is often the better choice.
Golden Anchor is a popular expansion anchor from our range that performs excellently where the fixing has to withstand heavy loads. To install an expansion anchor you need a hammer drill bit, a hammer, an expansion anchor and a torque wrench.
- Position the element to be fixed. Set the element you want to fix in the correct position against the concrete.
- Drill a hole. Using a hammer drill bit of the same diameter as the anchor, drill a hole through the element being fixed into the concrete, to the depth given in the product's load table.
- Clean the hole. Push the drill bit in and out several times to pre-clean the hole. Blowing out the dust is optional, not necessary.
- Drive in the anchor. Use a hammer to drive the anchor in to the correct installation depth. You will find the installation depth in the product's load table.
- Tighten the nut. Tighten the nut to the recommended tightening torque, which you will find in the load table or in the technical specification on the product page. We recommend installing with a torque wrench, not an ordinary spanner.
Chemical anchor for concrete – maximum load-bearing capacity and safety
A chemical anchor for concrete is the solution where maximum safety, high load-bearing capacity and the least possible stress on the concrete substrate are required. The injection mortar is injected into a drilled and thoroughly cleaned hole, and only then is a threaded rod, post shoe or reinforcement, for example, set into it. The injection mortar fills all irregularities in the drilled hole and seals it against air and water.
The chemical anchor is used for anchoring dowels, threaded rods and reinforcing bars and for installing, for example, steel beams, masts, balconies, flagpoles, gates and post shoes. It is also used for installations with small distances between fixing points or where expansion plugs could split the concrete.
When installed correctly, a chemical anchor can be by far the most durable method of fixing to concrete.
Important! Thorough cleaning of the drilled hole is crucial for the installation. The injection mortar must bond to the surrounding substrate, not to dust. If you do not clean the hole properly, the mortar will bond to the dust instead of the concrete and the joint will be weaker.
See our step-by-step guide on how to install a chemical anchor correctly. You will find the same procedure directly on the packaging. Along with the chemical anchor, do not forget to buy all the cleaning accessories you need!
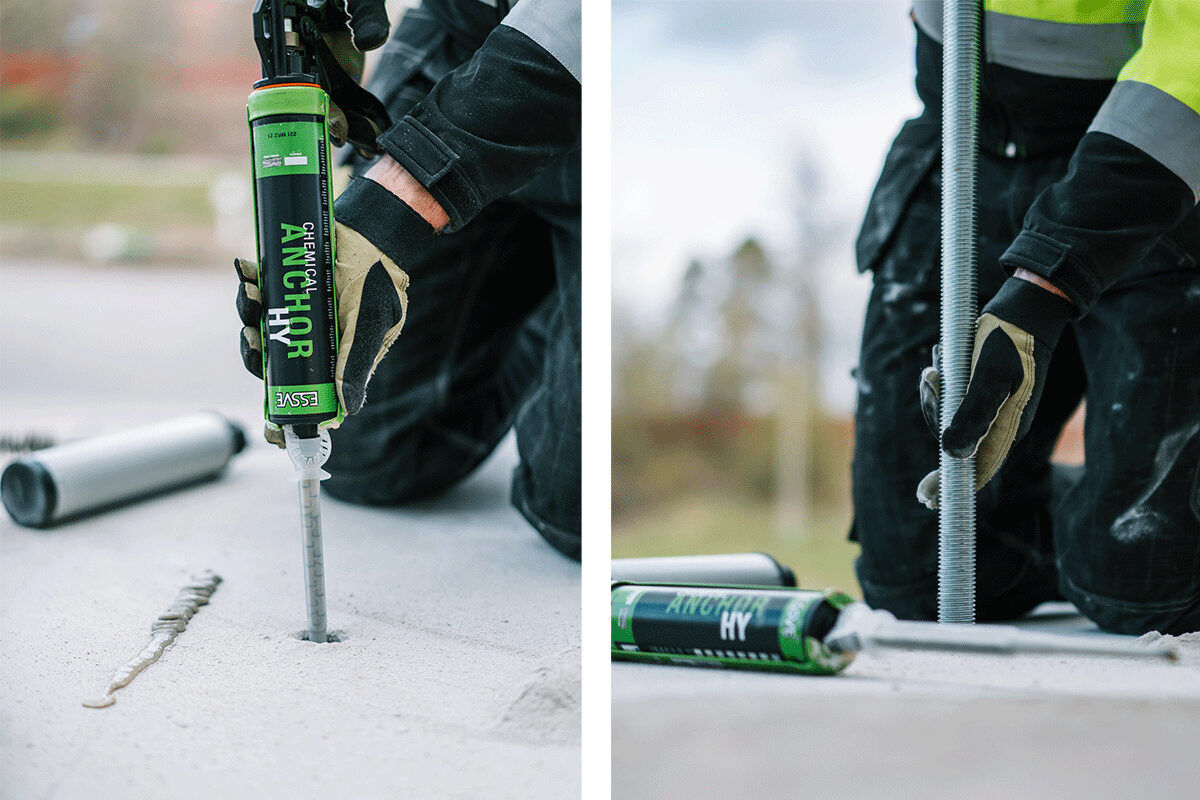
Essential for chemical anchor installation
Do not forget to buy the cleaning accessories, which are so important for the installation!


In brief
How to choose the right method of fixing to concrete?
The choice of the right method of fixing to concrete depends above all on the type of element, its weight and the installation conditions. For light applications such as shelves, pictures or installation brackets, plugs for concrete are usually sufficient.
For installing skirting boards, plinths and finishing elements, concrete screws are a good solution, as they allow fast installation without plugs. For fixing heavy structures such as awnings, columns or steel elements, we recommend construction screws for concrete or mechanical anchors.
If you are installing close to the edge of the concrete, with small distances between fixing points, or when you need the highest load-bearing capacity, the best choice is a chemical anchor, which ensures a durable and safe joint with the concrete substrate.
The right choice of fasteners for concrete is crucial not only for the durability of the installation but also for the safe use of the structure.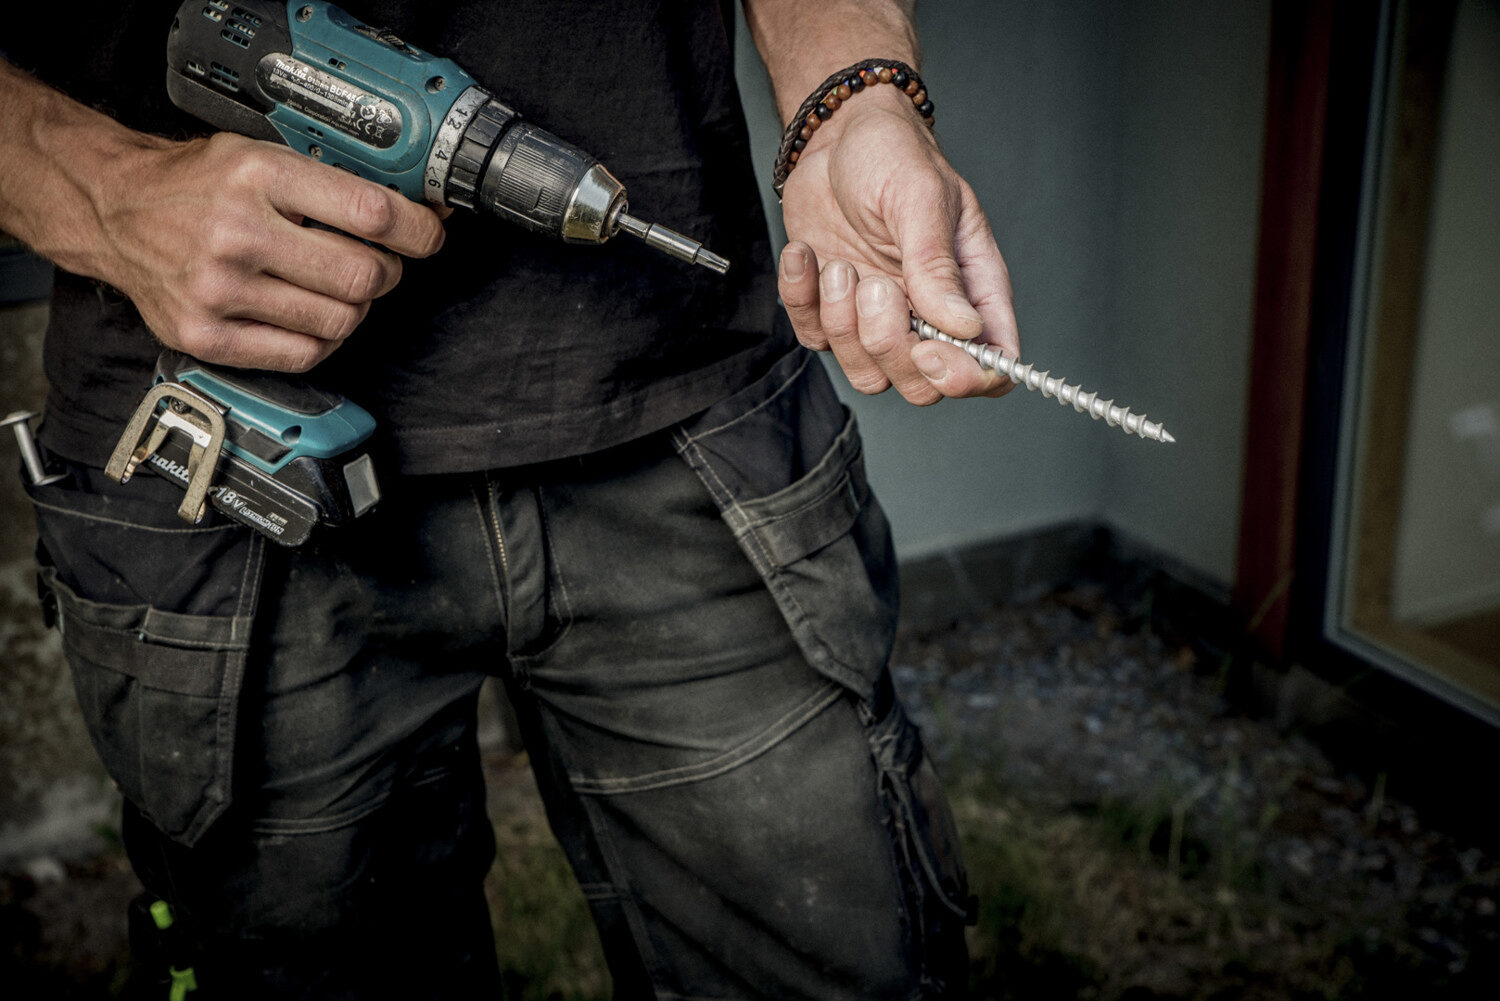
More information about installation in concrete
Full range for concrete
We offer a wide selection of products for fixing to concrete. You will find the full range here:

Cracked or non-cracked concrete?
Whether concrete is cracked or not affects the installation. We explain why.

Are you a structural designer?
Do you need advice on fixing to concrete for your next project? Contact us at Zrubko.sk – we can also provide you with documentation from the manufacturer ESSVE.

Design software
We will help you with the calculation of fixings in concrete. We can arrange access to ESSVE CS, the manufacturer's free calculation software – contact us.
The information in this guide is for guidance only. Follow the manufacturer's technical data sheet and the applicable standards; if in doubt, contact us.