
Number and length of nails and screws for a wooden facade
How to choose the number and length of nails and screws for a wooden facade
Choosing the right nails and screws is crucial for the durability and safety of a wooden facade. The number of fasteners affects the stability of the facade cladding, and the right length ensures that the fixing reliably carries the loads caused by wind and the natural movement of the wood.
Calculating the quantity
Nails and screws are steel products whose manufacture has a small impact on the climate. That is why it is important to buy the right quantity of screws. The number of fasteners needed depends mainly on the type of wood cladding – whether it is vertical, horizontal or board-and-batten cladding.
|
Method |
Number of fasteners |
|
Single fixing |
approx. 15 pcs/m² |
|
Double fixing |
approx. 30 pcs/m² |
Board-and-batten cladding
The bottom boards and the cover battens are fixed with one fastener (1 pc) at each fixing point. The cover boards are fixed with two fasteners (2 pcs).
Vertical/horizontal cladding
Cladding boards up to 120 mm wide are fixed with one fastener at each fixing point. Cladding boards wider than 120 mm are fixed with two fasteners (2 pcs).
The right nail length
|
Board thickness (mm) |
Batten thickness (mm) |
Nail length (mm) |
|
22 mm bottom/cladding board |
28 |
48 |
|
22 mm cover board / 22 mm bottom board |
28 |
70 |
|
28 mm bottom/cladding board |
28 |
55 |
|
22 mm cover board / 28 mm bottom board |
28 |
75 |
|
22 mm bottom/cladding board |
34 |
55 |
|
22 mm cover board / 22 mm bottom board |
34 |
75 |
Choose a length that will not damage the wind barrier
The fastener must not pierce the wind barrier, because warm, cold and moist air could then flow through the wall. The length of the nail or screw must therefore not exceed the thickness of the cladding board plus the batten. The table applies to battens 28 and 34 mm thick. For a different batten or board thickness, calculate the length yourself: the thickness of all the boards the fastener passes through + at least 25 mm in the batten (the anchorage length for cladding nails and screws according to the Swedish organisation Svenskt Trä). However, the fastener must not be longer than the boards and the batten together. Example: a 22 mm board on a 28 mm batten – at least 47 mm, at most 50 mm, i.e. a 48 mm nail.
Follow the Swedish technical requirements AMA Hus, which allow a small margin, and make sure the head of the nail or screw is flush with the wood surface. ESSVE cladding nails are supplied in lengths that meet these requirements. If you use screws, ask a specialist at your builders’ merchant about the right length.
Remember:
- Neither the nail nor the screw may be longer than the thickness of the cladding board and the batten together
- The head of the nail or screw should be flush with the surface of the wood cladding
The right corrosion protection
|
Environment |
HDG* (C3) |
Stainless steel A4 (C5) |
|
Painted cladding, far from the coast |
✅ |
✅ |
|
Painted cladding on the coast |
- |
✅ |
|
Untreated cladding or cladding painted before installation |
- |
✅ |
|
Exotic wood cladding |
- |
✅ |
*HDG (hot-dip galvanised) is a zinc coating with corrosion resistance class C3. If you use fasteners that are not made of stainless steel (for example HDG), paint them after installation to prevent zinc staining.
Stainless steel fasteners are especially important in places exposed to the weather and for exotic wood cladding. Use zinc-plated fasteners only under these conditions:
- The building site is outside a coastal area
- The wood cladding is not made of exotic wood
- You will paint the wood cladding after installation. If you do not paint it, zinc-plated nails can discolour the wood.
Our best advice: choose stainless steel nails and screws for wood cladding. Stainless steel fasteners withstand harsh weather and adapt better to the movement of the wood.

Use our guide
6 steps to correct installation ⮕
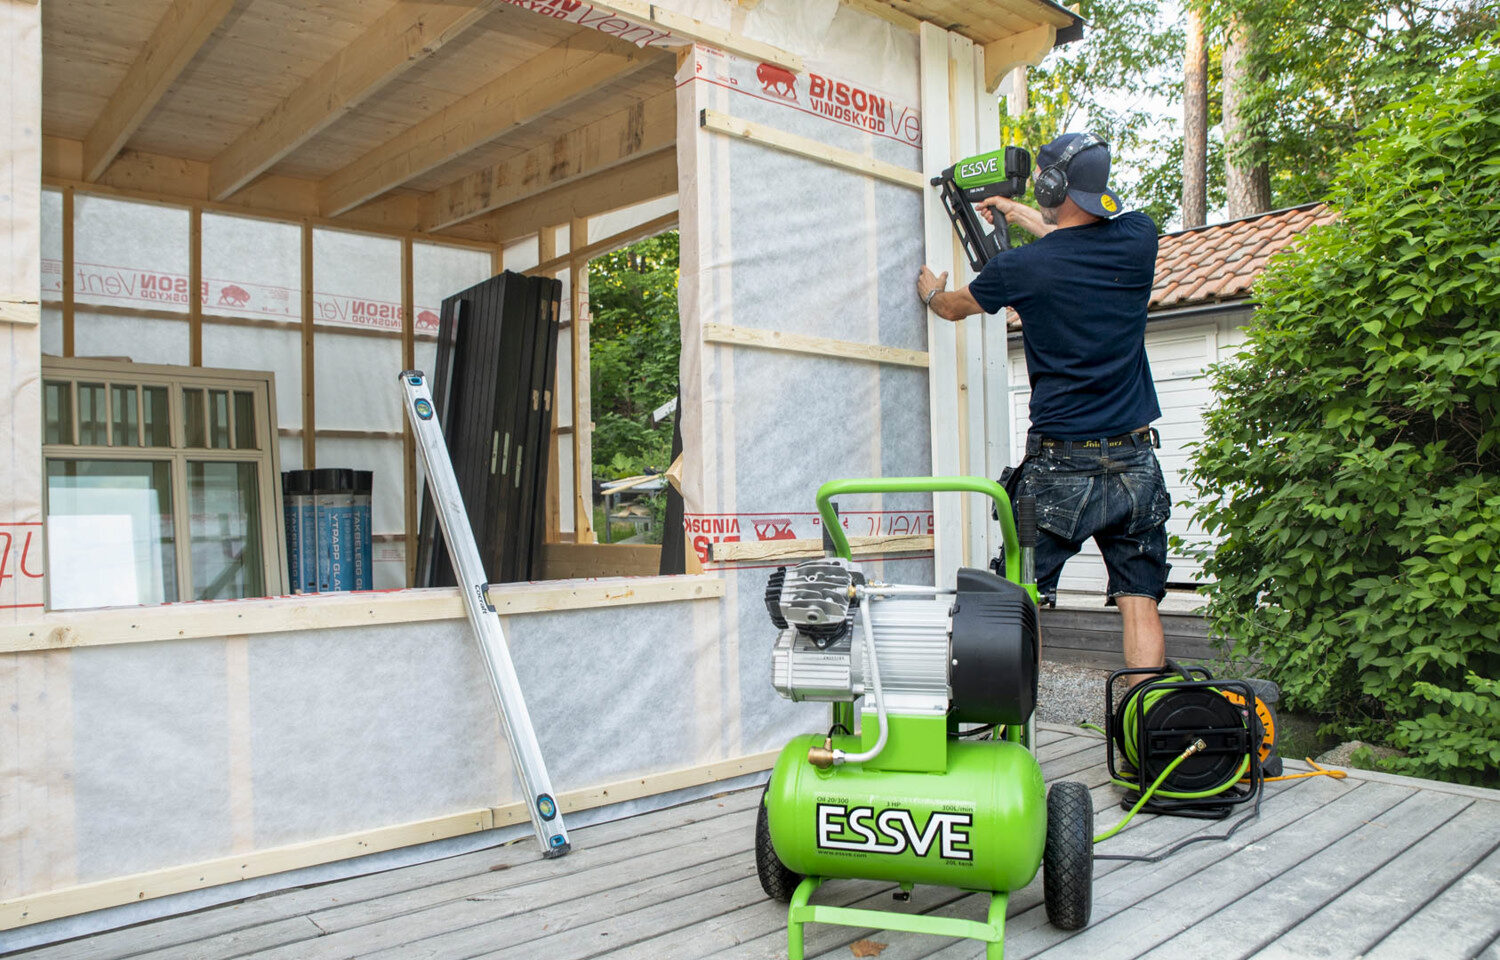
Installing the cladding
A simple guide to installing wood cladding. Tips and information.
The information in this guide is for guidance only. Follow the manufacturer's technical data sheet and the applicable standards; if in doubt, contact us.