
Installing facade cladding step by step
Installing facade cladding step by step
Once you have finished the preparatory work and chosen the type of cladding and the fixing method, it is time to install. Below you will find a practical guide that shows step by step how to install wood cladding on a facade.
Step 1
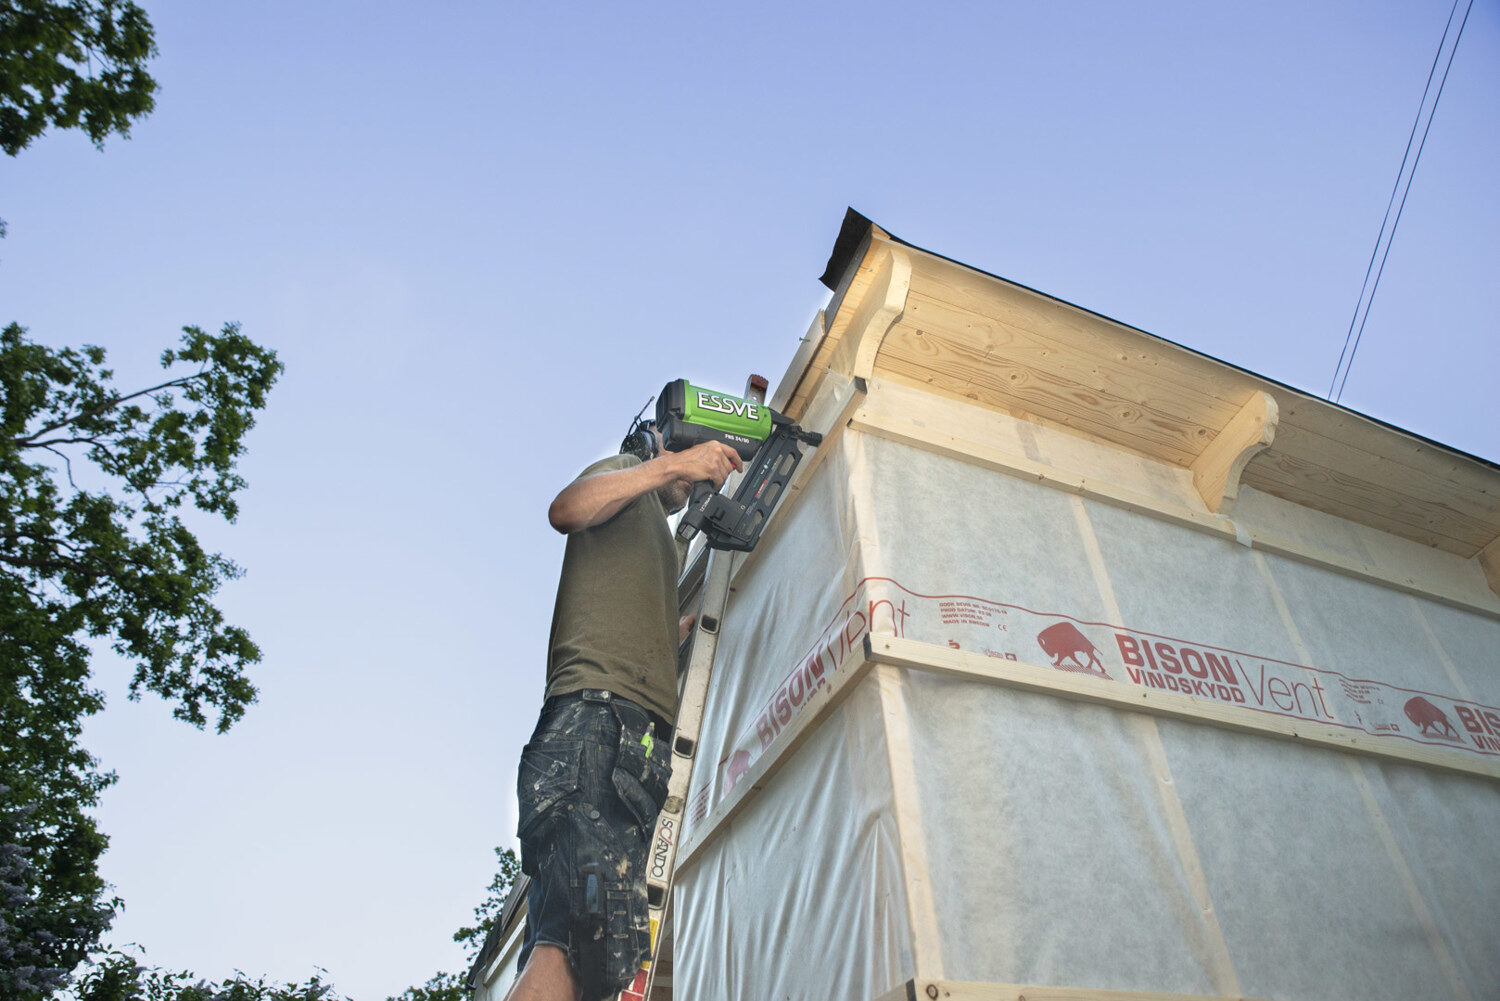
Check the battens
Make sure the battens are fitted vertically or horizontally – depending on the type of cladding.
Use a spirit level or a laser for straight lines.
Tip: A straight starter board is extremely important – do not underestimate this step!
Step 2
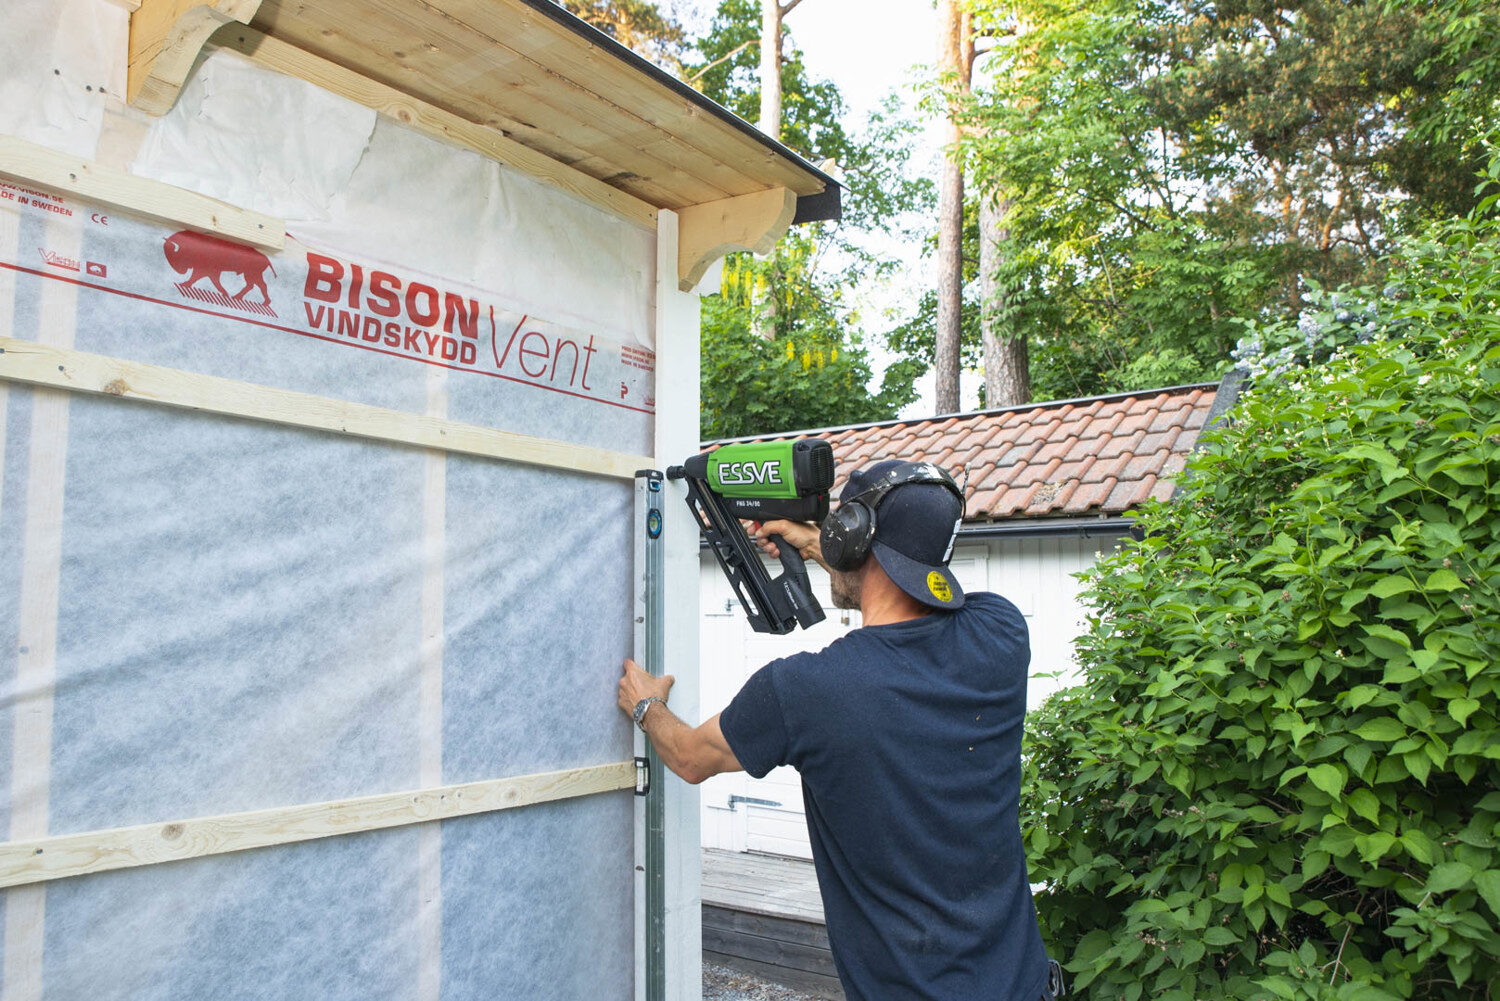
Start at the bottom (or at a corner)
Horizontal cladding:
- Start at the bottom and work upwards.
- Make sure the overlap slopes outwards so that water can run off.
- Nail or screw each board at the top so that the fastener does not pass through the board below it – the boards must be able to move freely.
Vertical cladding:
- Start at an external corner or at the edge of a window.
- Installation is easier if the tongue side faces outwards.
- Drive the nails on the tongue side so that the cladding can move freely and does not crack.
Board-and-batten installation:
- First install the bottom boards with gaps between them (approx. 10 – 15 mm).
- Then lay the cover batten on top so that it covers the gaps completely.
- Fix both the bottom board and the cover batten with stainless steel nails or screws, two at each fixing point.
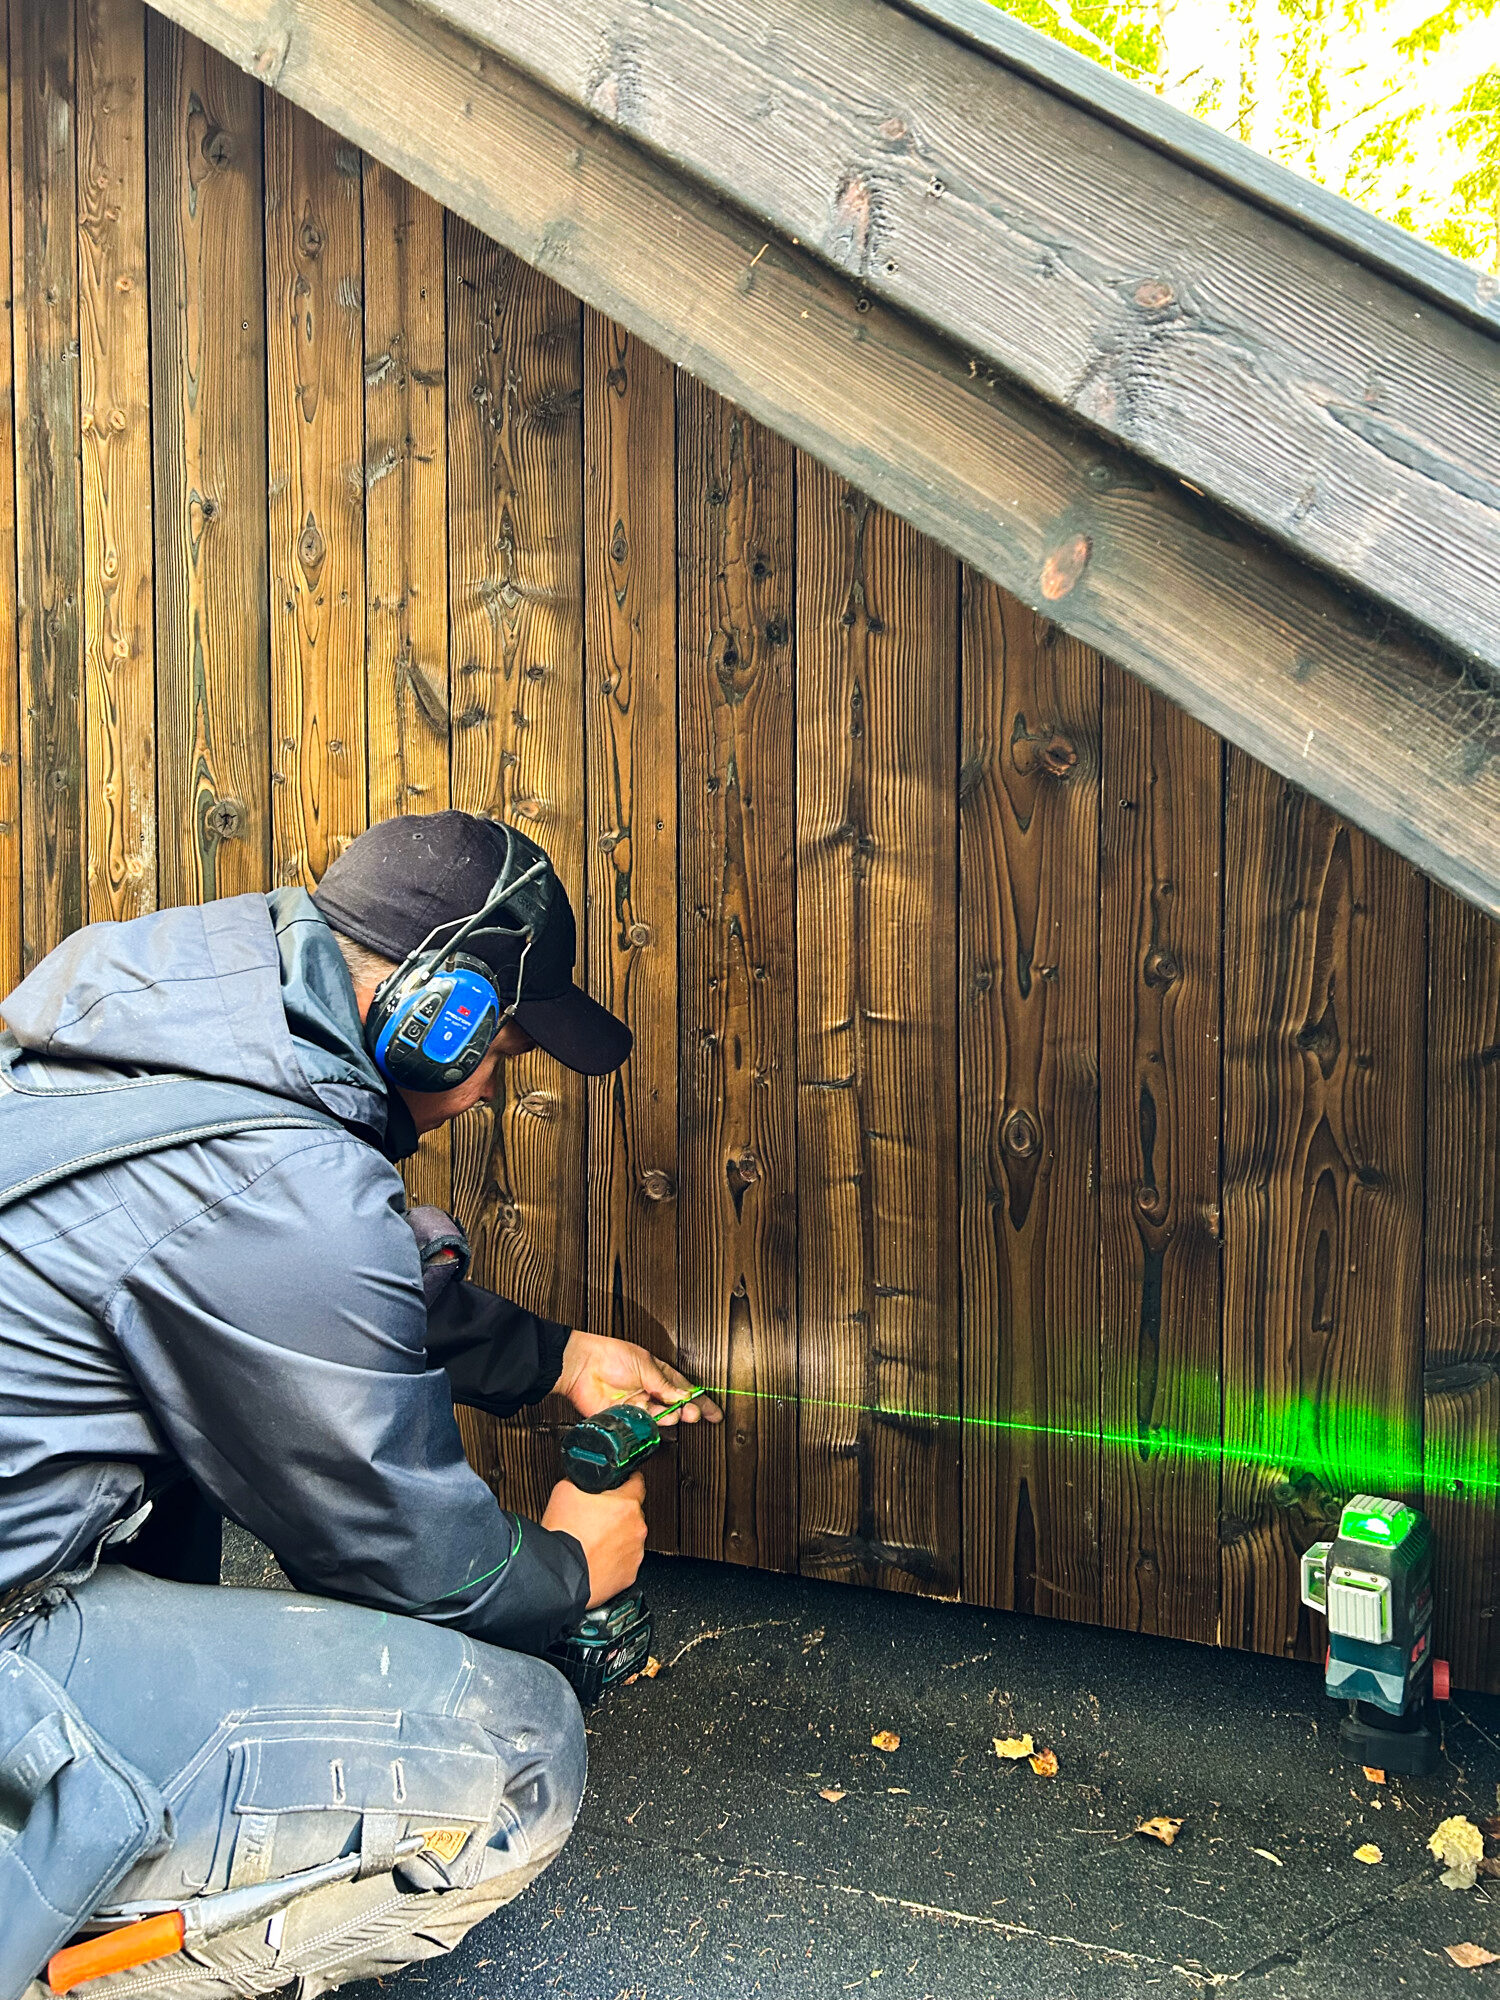
Tip for a neat look! Use a laser to set the fasteners in straight rows.
All installation options
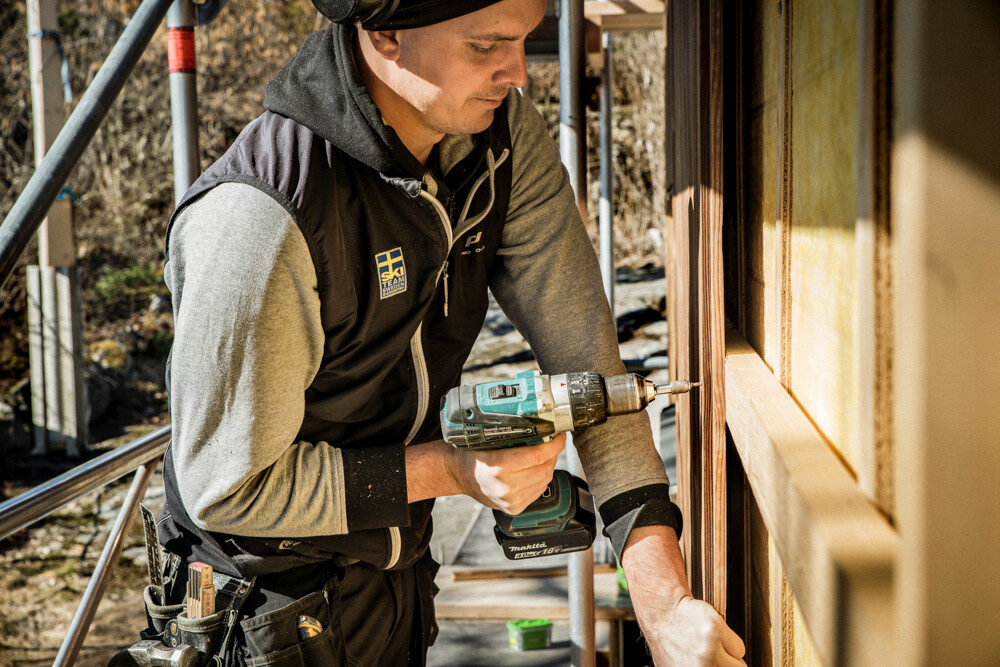
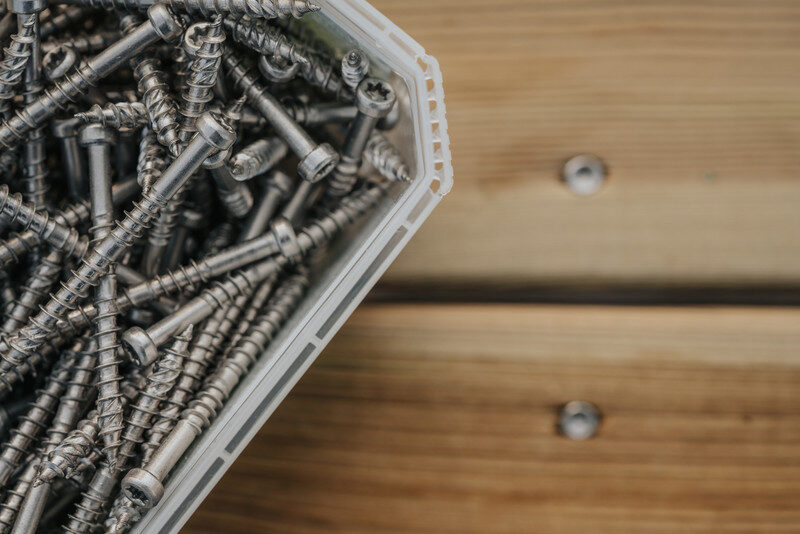
The ESSVE range includes cladding nails made to the Swedish technical requirements AMA Hus in stainless or zinc-plated steel in many colours, as well as stainless steel facade screws, also available strip collated and in many colours.


Step 3
Fit the cladding around windows and doors
- Use a jigsaw for clean cut-outs.
- Leave room for free movement between the cladding and the window or door frame.
- We recommend fitting drip flashing above the windows before installing the cladding.
- Check that metal window sills that drain moisture away are fitted.
Step 4
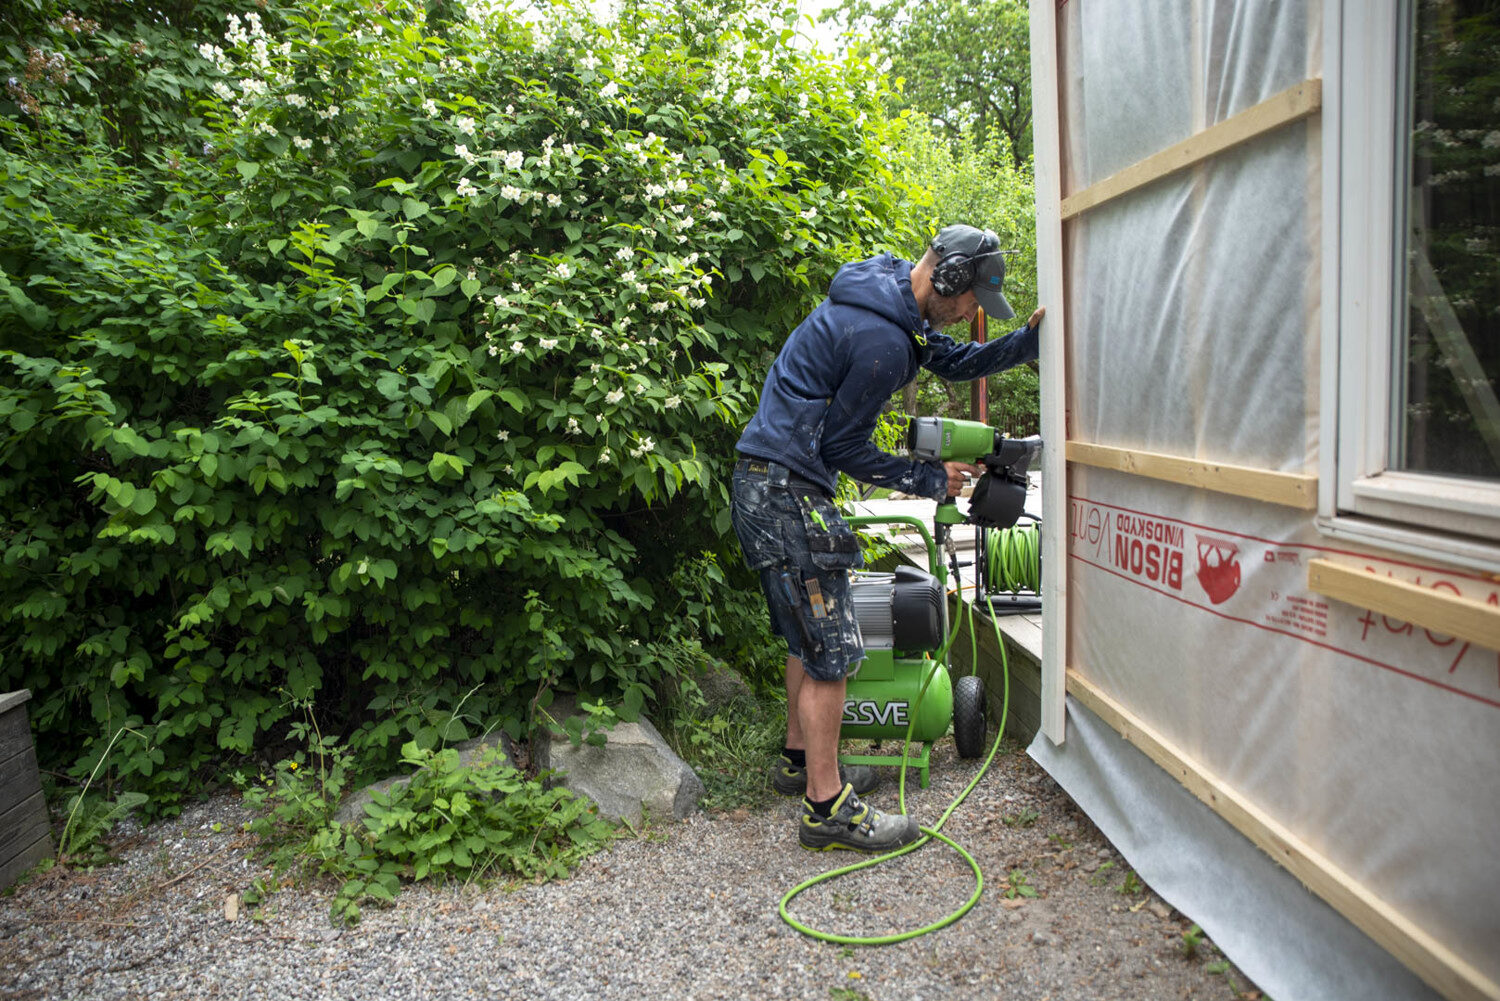
Corners, edges and details
- Depending on the look and the type of cladding, use a corner moulding or a tight corner joint.
- Fit a closing strip at the bottom and rain-protection strips at the top.
- Make sure that water does not collect anywhere – all elements must drain moisture away.
Step 5
Check and seal
- Check that the cladding is firmly fixed and that the gaps between the boards are even.
- Do not seal joints through which moisture needs to escape – but around window and door frames and similar penetrations, feel free to use sealing foam. Use an elastic sealing compound that adapts to the movement of the facade, e.g. construction sealant for facades or ESSEAL ESS1
- If the cladding is not primed, paint it immediately after installation, ideally within two weeks.
Tip: if you do not want to paint the wood cladding after installation, use pre-lacquered screws and nails.
More products for installing facades
Sealing compounds, screws for gutters and metal window sills, and other products needed for a complete facade installation.
 ESSVE Sealant ESS Seal ESS1 300 ml
 ESSVE Construction sealant Façade - highly elastic movement joints 300 ml white
 ESSVE Gutter hook screw, stainless/lacquered 4.8 x 35 mm A2, pack of 250
 ESSVE Window sill screw 3.5 x 25 mm A2, pack of 200
 ESSVE Window sill screw 3.5 x 25 mm A2 black, pack of 200
 ESSVE Window sill screw 3.5 x 25 mm A2 white, pack of 200
The right length and number
Make sure the cladding is fixed correctly and make use of our help with the calculations.
Use our guide
6 steps to correct installation ⮕
The information in this guide is for guidance only. Follow the manufacturer's technical data sheet and the applicable standards; if in doubt, contact us.