
Straight and centred installation of windows and doors
A straight and centred frame!
A guide to setting a window or door frame straight and centred with ease. With the level screw and the Karmfix tool, you no longer need packers or wedges.
Installation guide
A window set straight and centred is the basis of a durable window and door installation. With the level screw and the Karmfix tool, installation is simple – and quick! The level screw ensures that the frame stands straight – plumb – and the Karmfix tool makes sure the window or door sits exactly in the centre of the opening.
The video shows how easy it is to set a frame straight. If you would rather have a step-by-step guide with text and pictures, read on.
Video by the manufacturer ESSVE, without English subtitles.

Step 1: A straight frame with the level screw
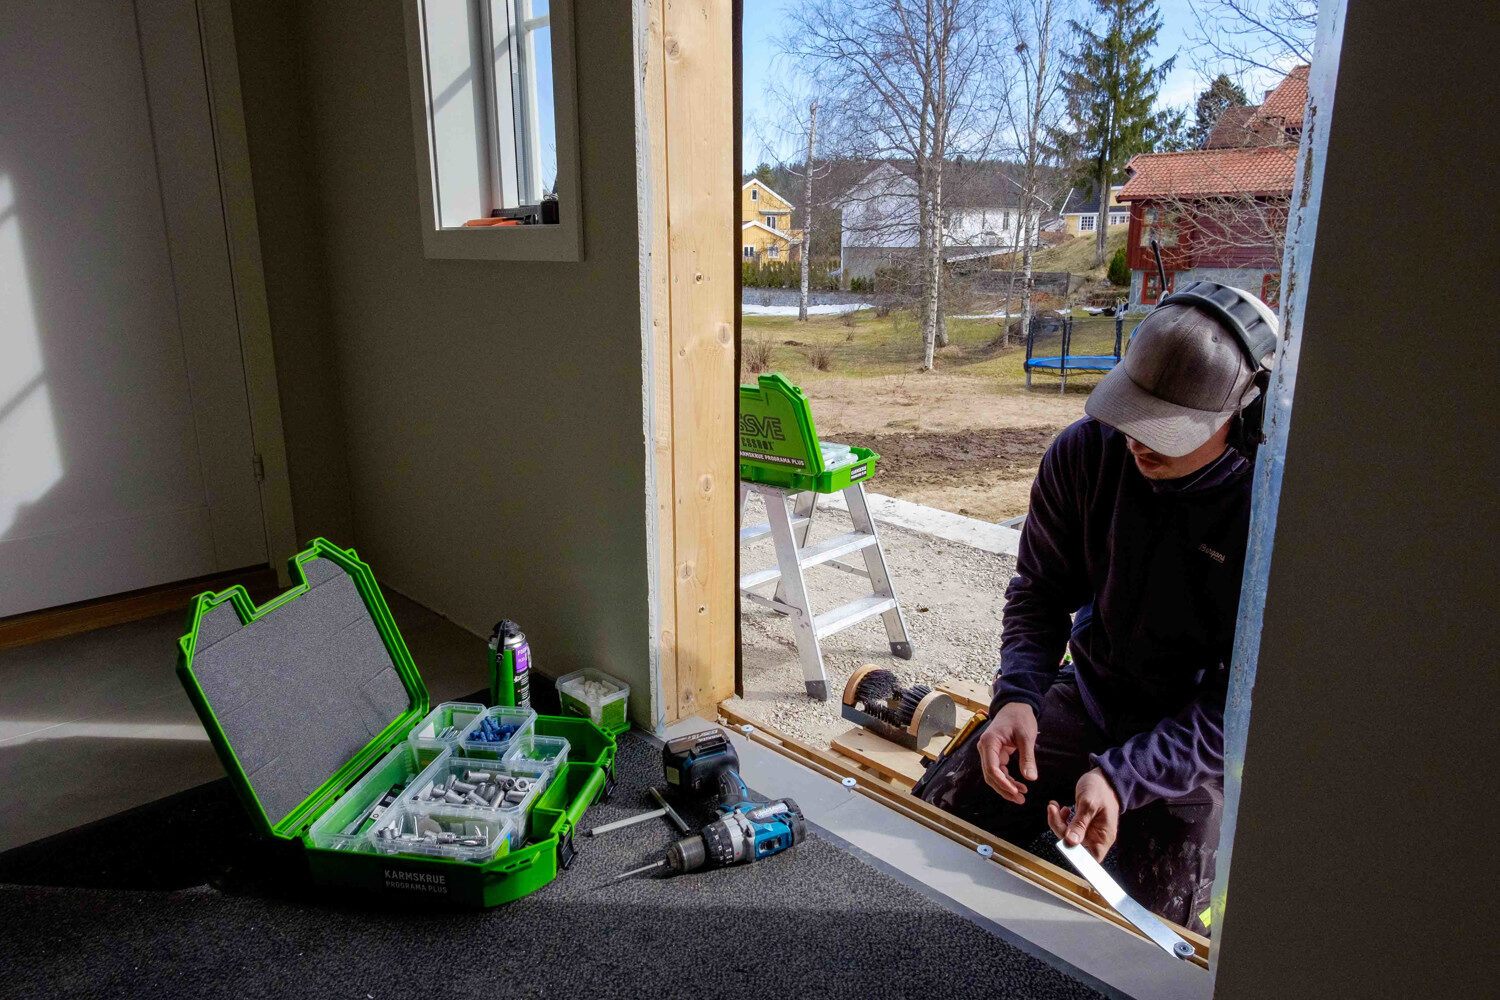
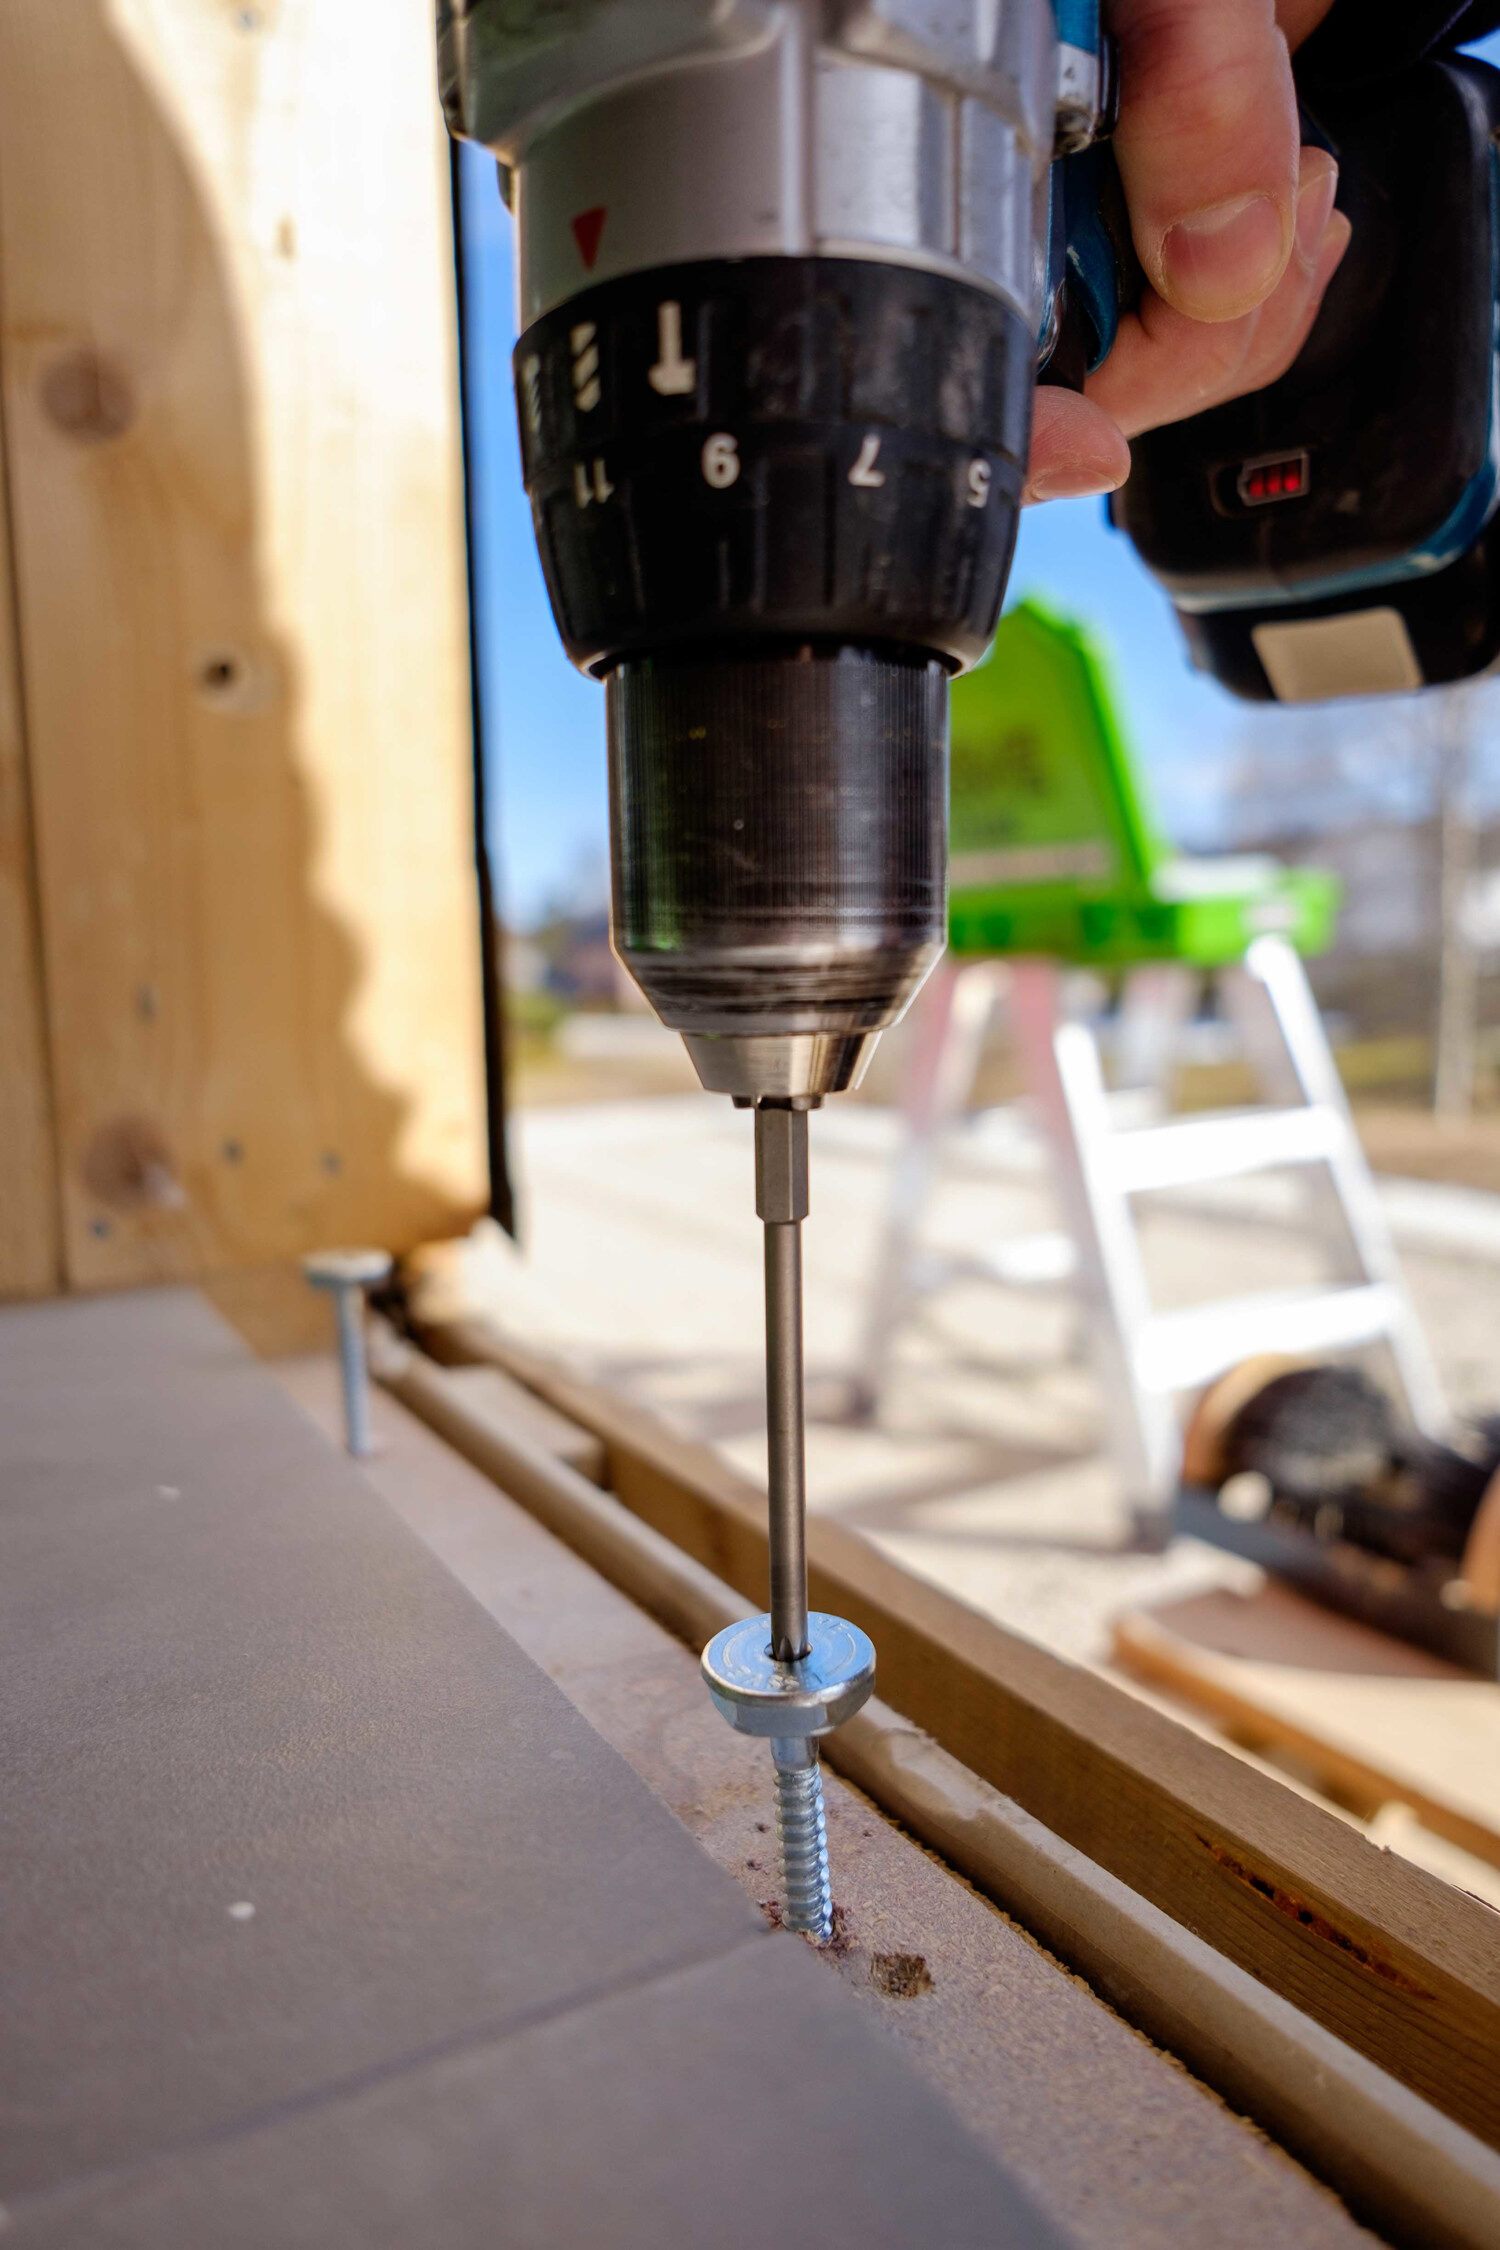
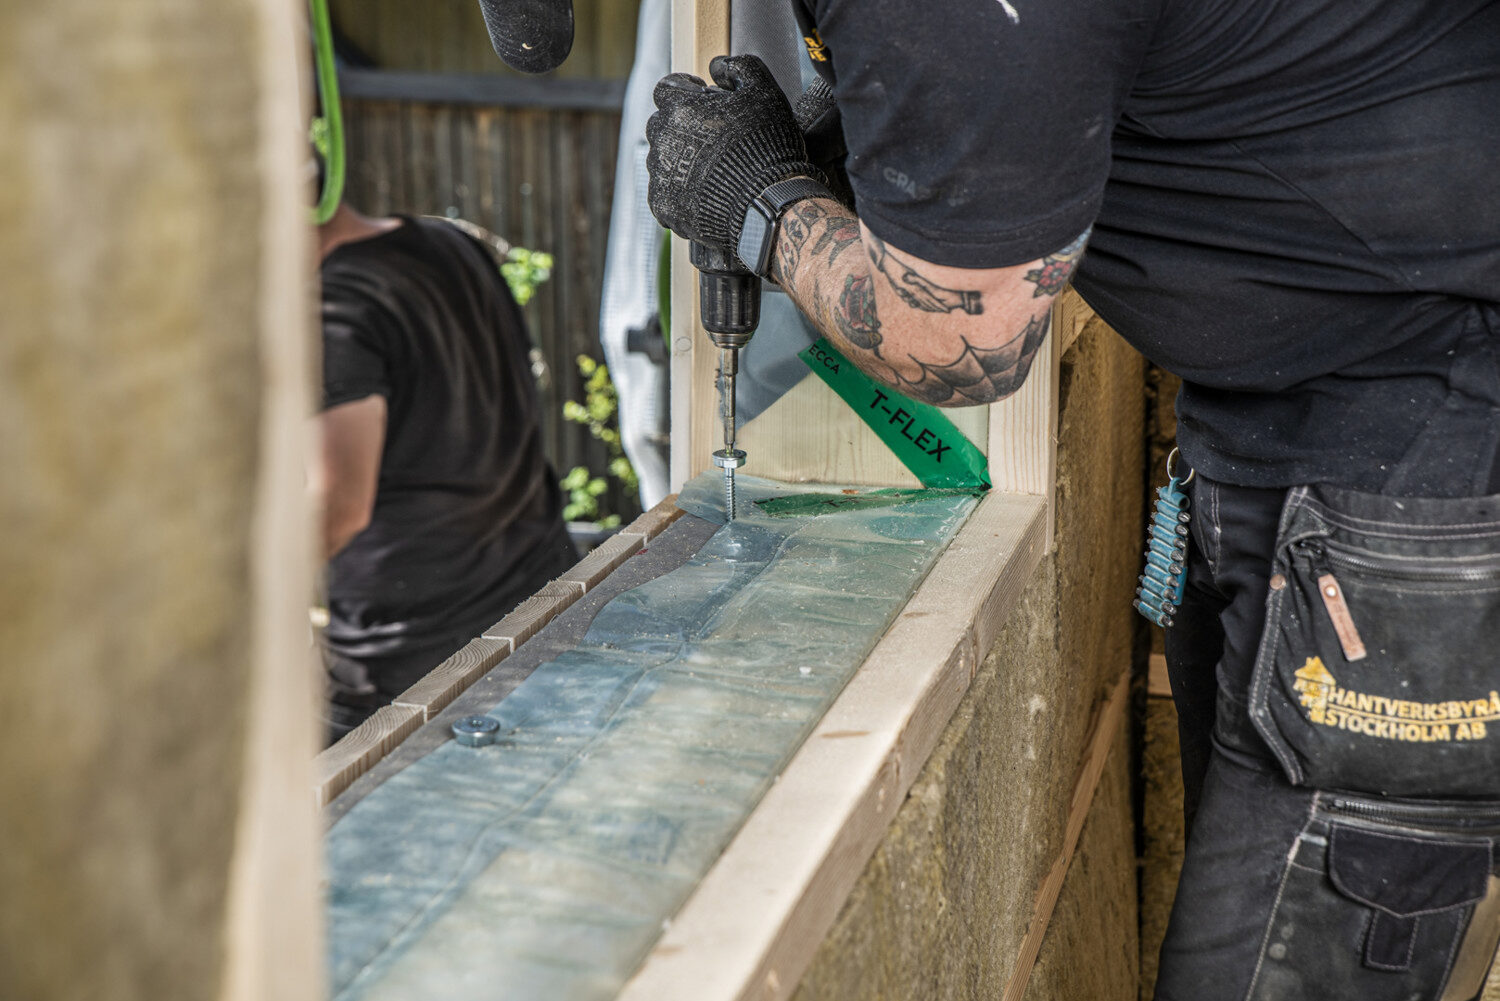
Fit the level screws as close as possible to the outer edges of the frame. Use at least two screws per window. If the window has a centre mullion, fit another screw under it as well. When installing doors, more screws are needed at the bottom because the threshold will bear loads – the screws must support it along its entire length.

Step 2: Pre-drill the frame
2. If you are installing the frame into wood, pre-drilling is not necessary. However, if you are installing it into concrete, lightweight concrete or brick, pre-drill for the level screw. Drill with a 6 mm drill bit in concrete, a 5 mm drill bit in brick and a 10 mm drill bit in lightweight concrete. Use a lightweight concrete plug only in lightweight concrete – in concrete and brick the level screw cuts its own thread.
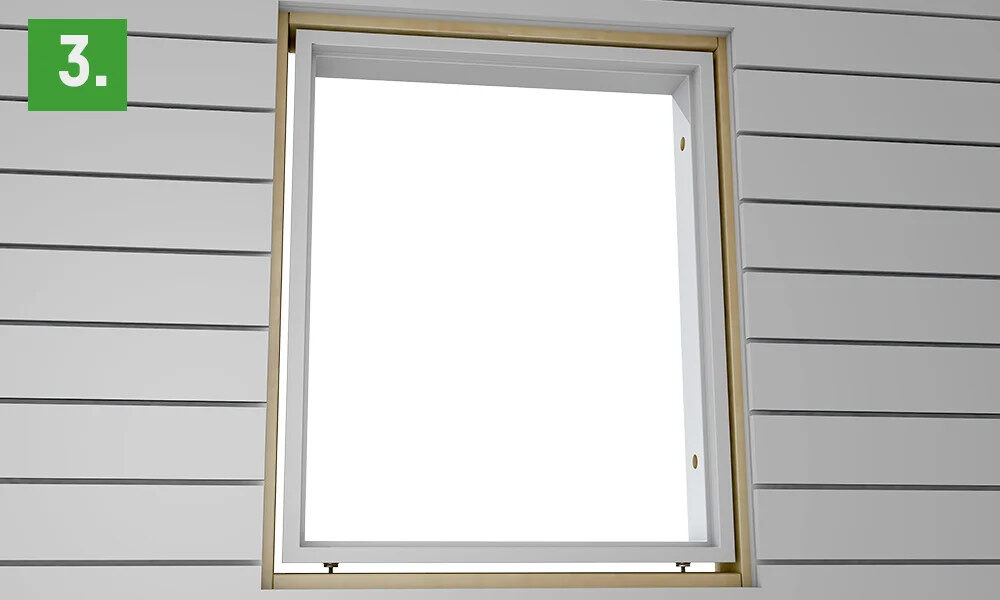
Step 3: Insert the window
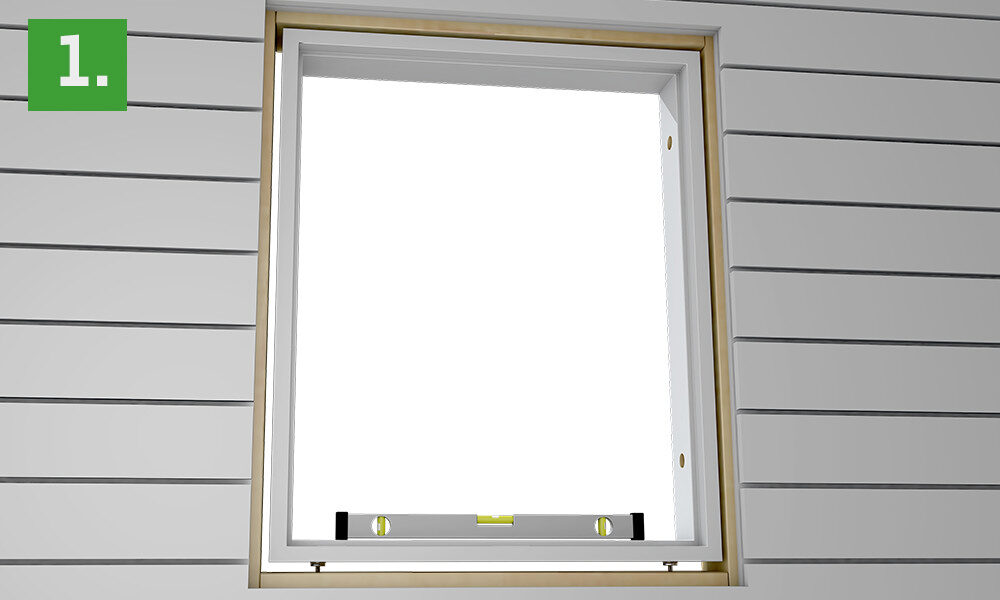
With the level screws in place, insert the window or door into the opening and set it on the level screws. We recommend leaving an air gap of approximately 15 mm under the frame.

Step 4: Adjust the window/door
Place a spirit level on the door or window. If the window is out of true, simply adjust the level screw with the HEX20 adjustment tool until the frame is perfectly straight.
Tip! The HEX20 adjustment tool is mainly used to adjust the ESSVE level screw, but you can also use it to fine-tune the screw-in depth of the ESSVE frame sleeve between the frame and the wall structure.
Step 1: Centre the door/window with the Karmfix tool
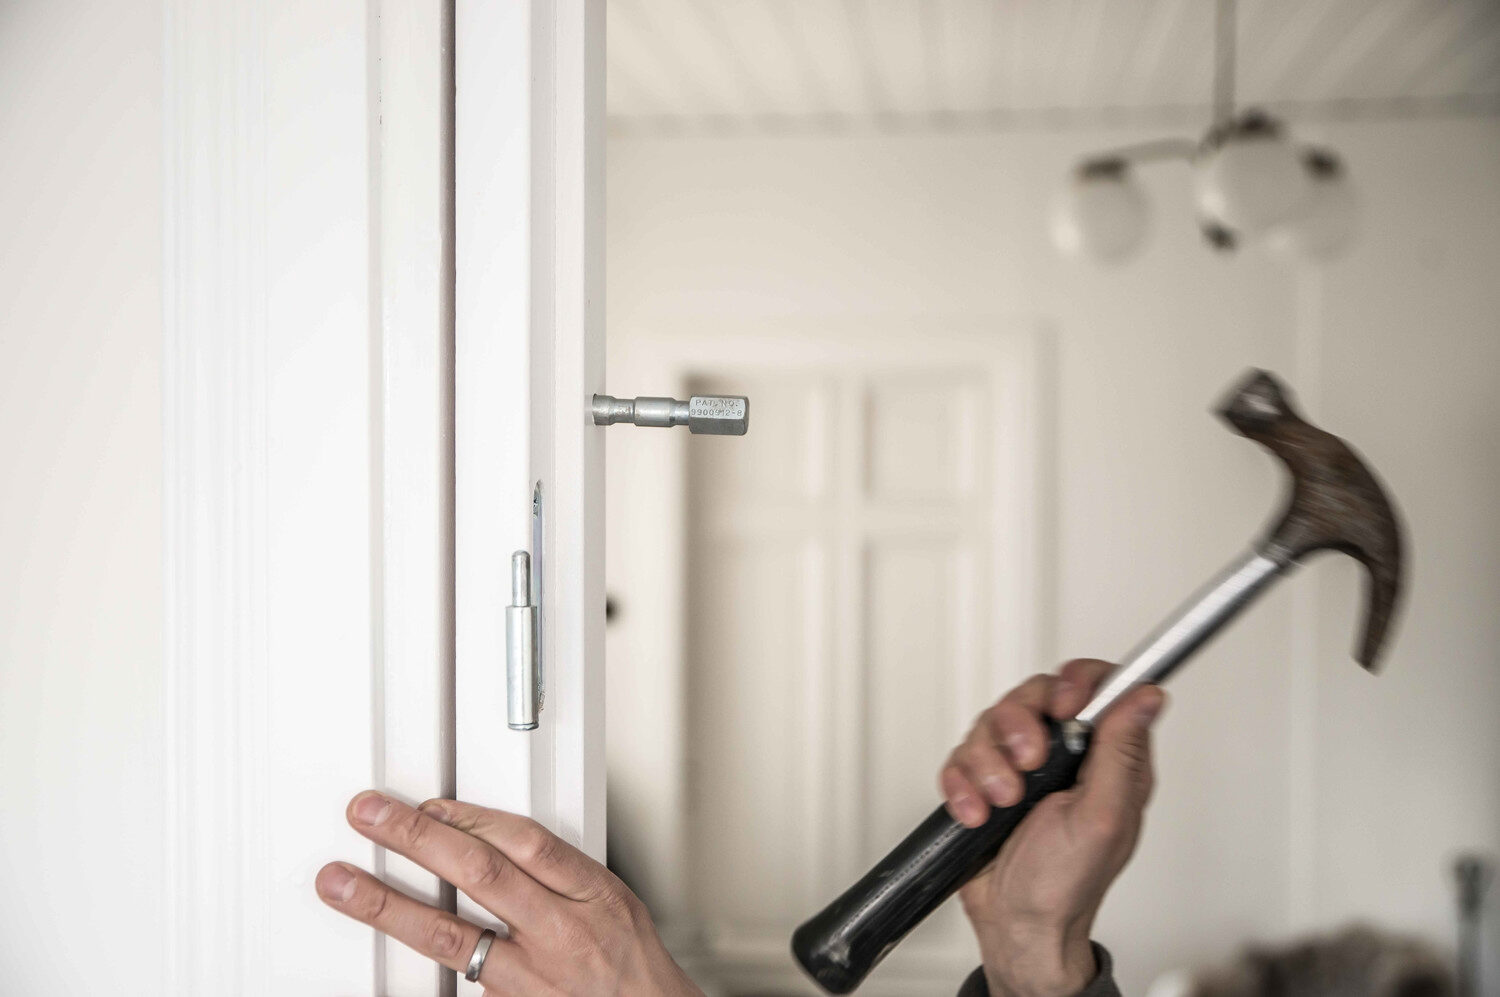
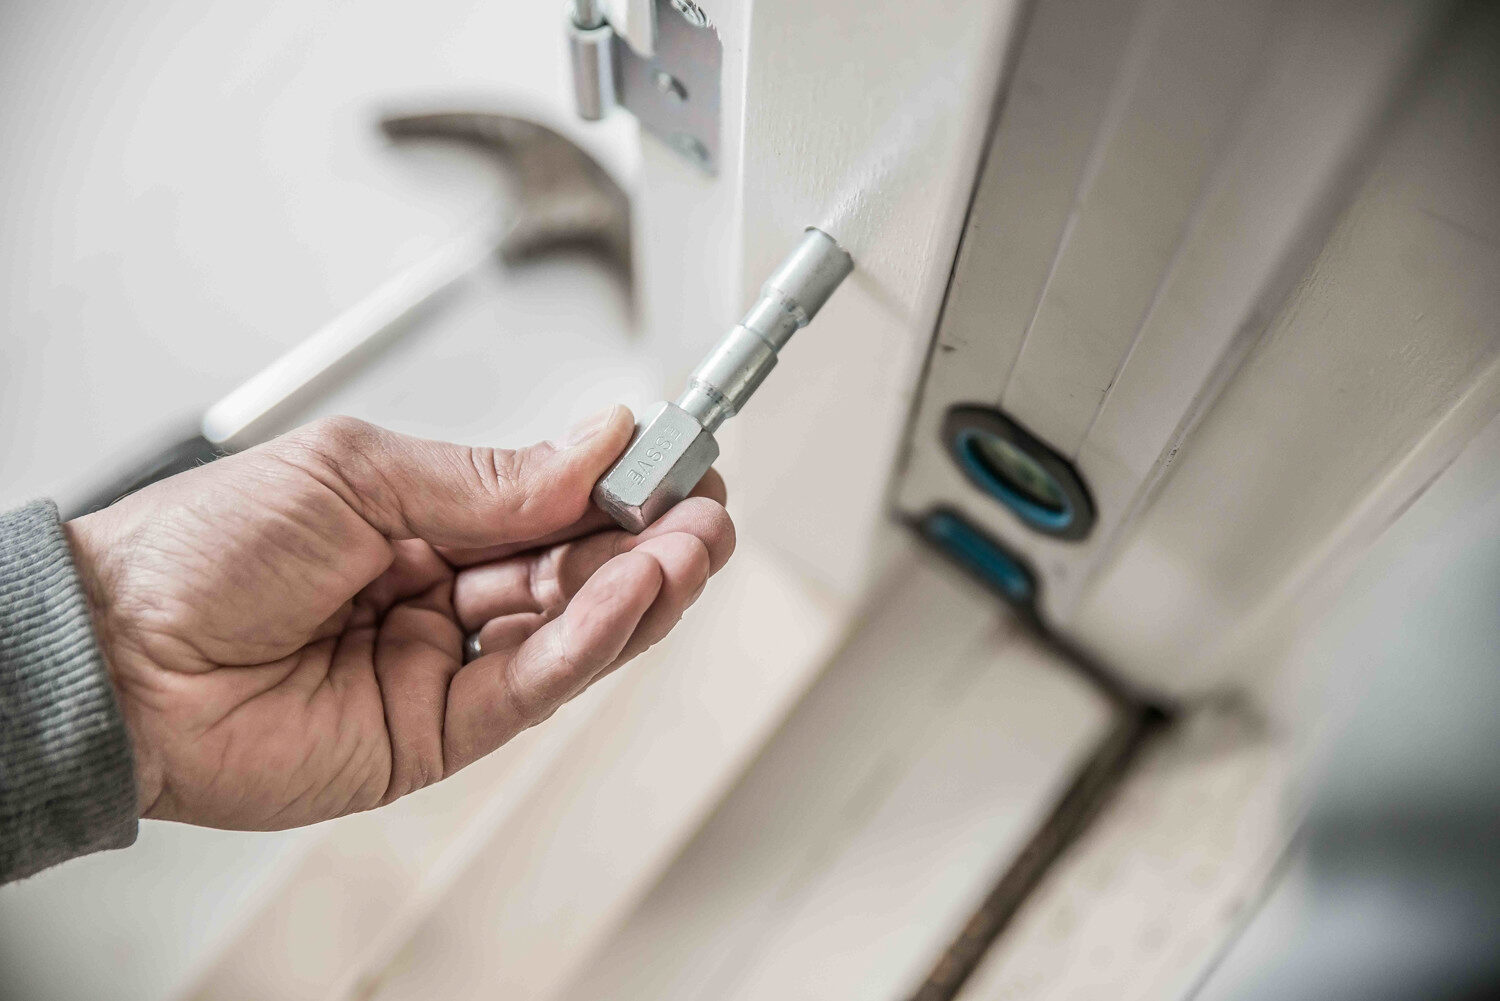
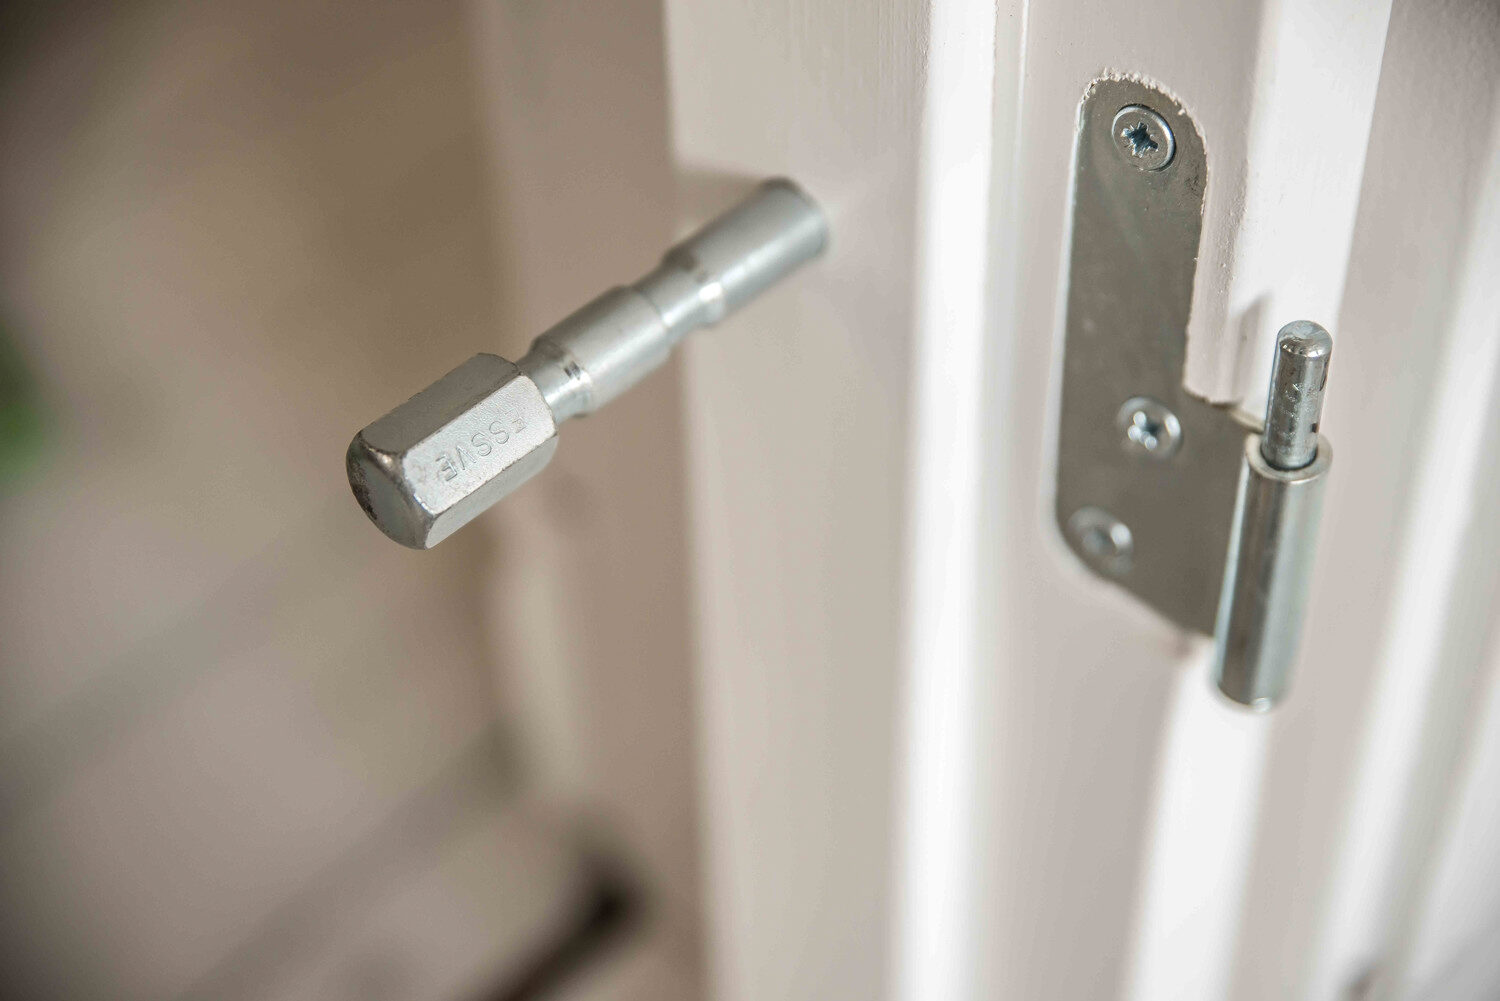
Drive the Karmfix installation tool with a hammer into the pre-drilled holes in the window or door. This creates a pilot hole for the frame screw and centres the frame in the opening. The tool also holds the frame in the correct position during installation and reduces the risk of the frame screw going in crooked.
Before you drive in the first Karmfix, check with a spirit level that the window is plumb.

Step 2: Drive in the first Karmfix tool
Drive the Karmfix tool into the 14 mm hole in the frame. Start with the bottom hole on the hinge side. Leave the installation tools in the holes until you fit the frame screws.
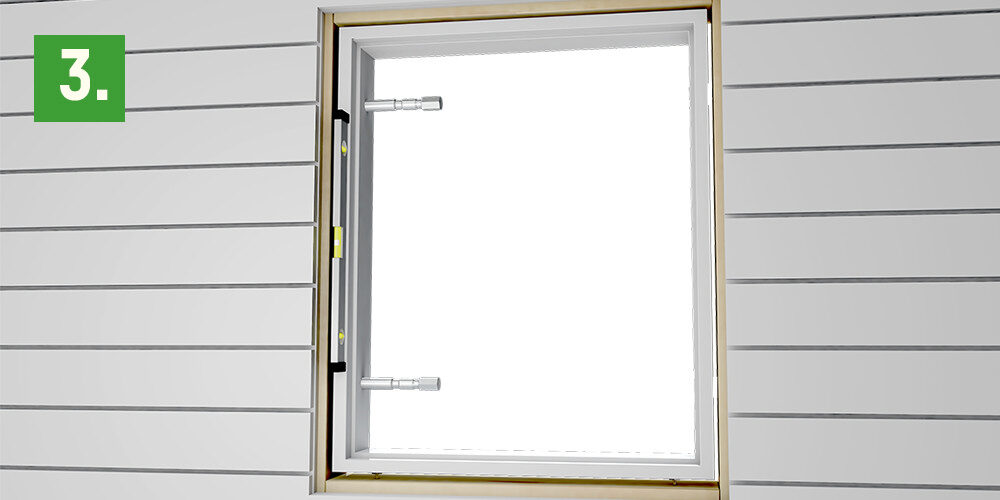
Step 3: Drive in the second Karmfix tool
Use a spirit level to check that the frame is plumb. Then drive the second Karmfix tool into the top hole on the same side as the first (the hinge side).
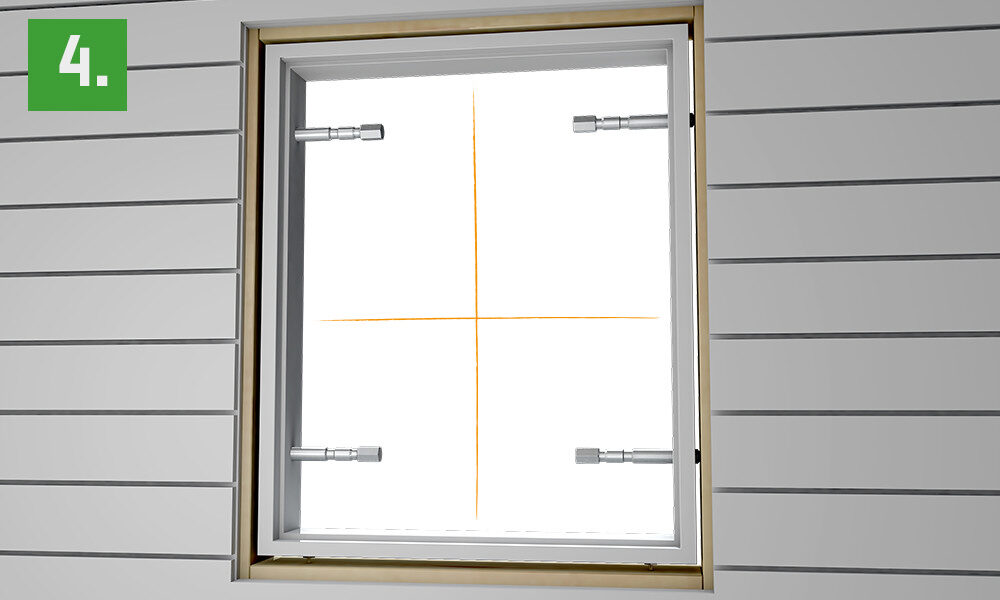
Step 4: Drive in the remaining Karmfix tools
Continue with the bottom and top holes on the opposite side. After driving in each Karmfix tool, check with a spirit level that the frame is straight. When all the Karmfix tools are in place, move the frame so that it sits in the centre of the opening.
Once the frame is plumb and centred, you can start fixing the frame screws. See our step-by-step guides:
Installing a frame into woodInstalling a frame into lightweight concrete and hollow brick
Installation products


More about frame installation

Programa Plus for wood
A flexible system that lets you easily install and later adjust windows and doors in older houses where conditions are not ideal.

Programa Plus for hollow brick
A flexible system that lets you easily install and later adjust windows and doors in older houses where conditions are not ideal.

Programa Plus for concrete/solid brick
A flexible system that lets you easily install and later adjust windows and doors in older houses where conditions are not ideal.

Frame screw L
If you are installing smaller windows and lighter interior doors, the frame screw L offers simple and convenient installation.

Frame sleeve Indu-Prog
You can use the installation system with the Indu-Prog frame sleeve whatever material the frame is made of.
Did you know...
... that the frame screw was invented in the early 1970s by a carpenter from Karlskrona? ESSVE bought the patent, and until 1989 we were the only manufacturer of this product.
The information in this guide is for guidance only. Follow the manufacturer's technical data sheet and the applicable standards; if in doubt, contact us.